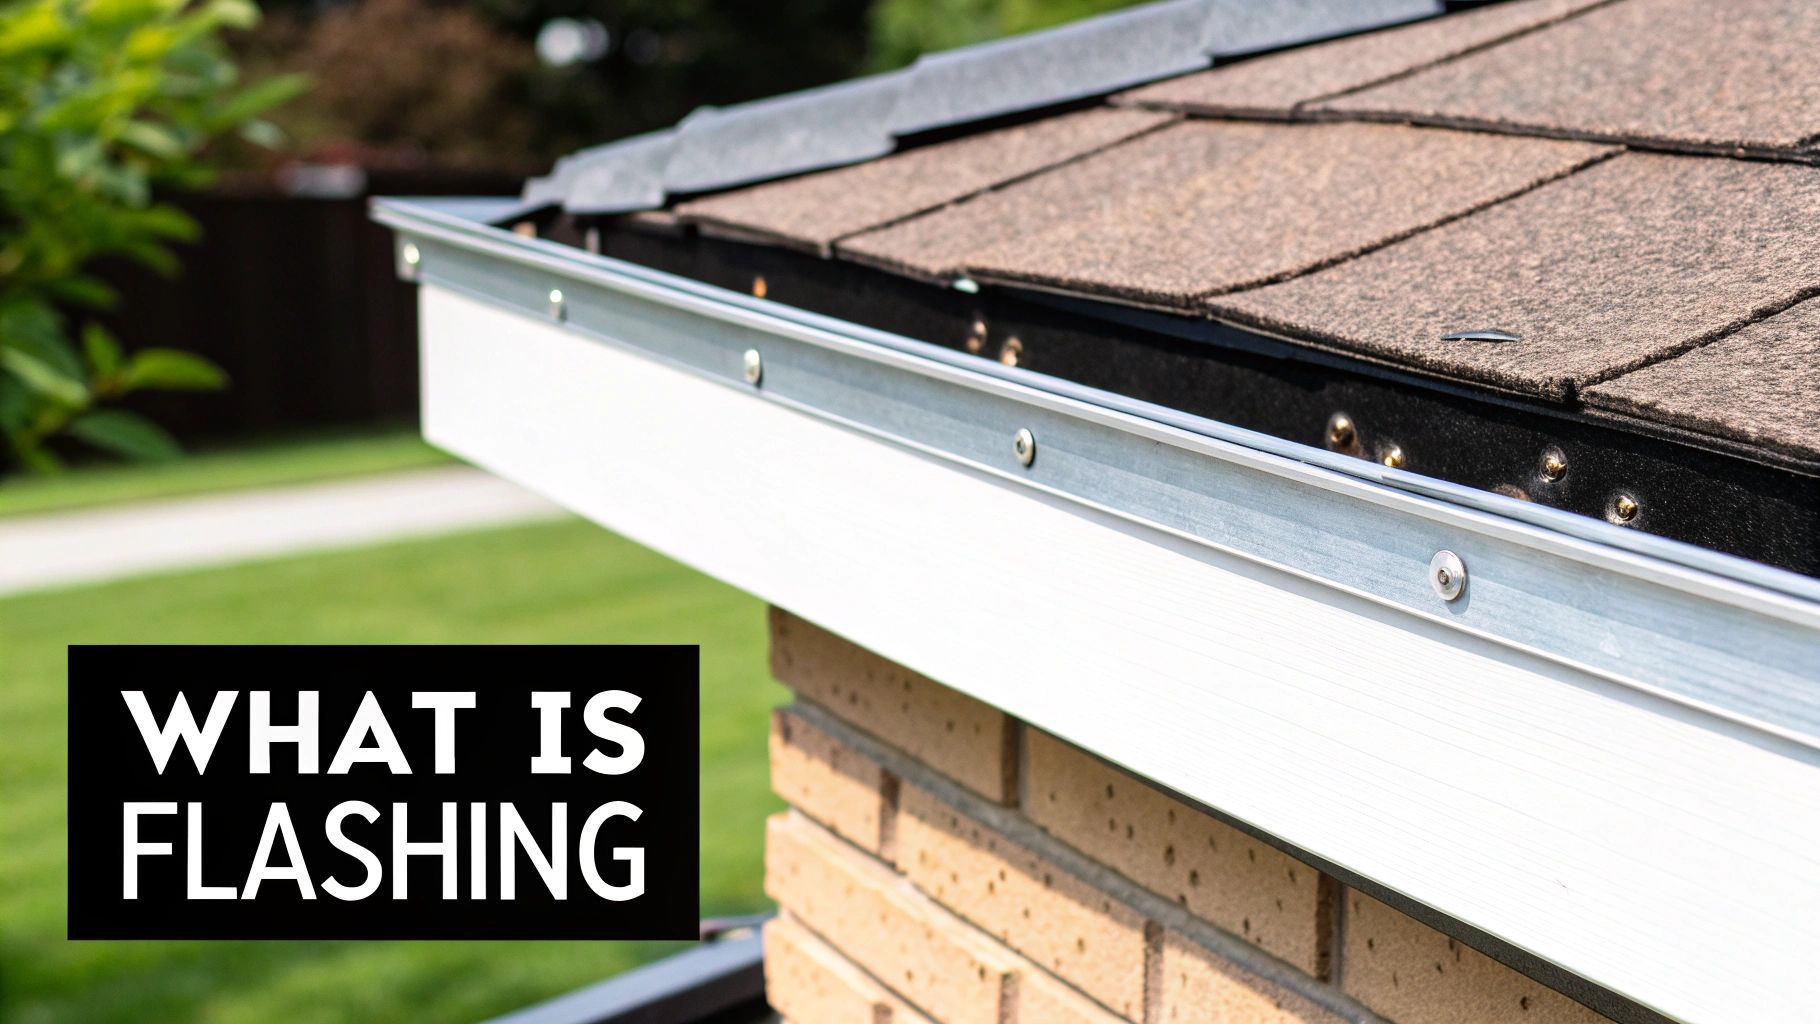
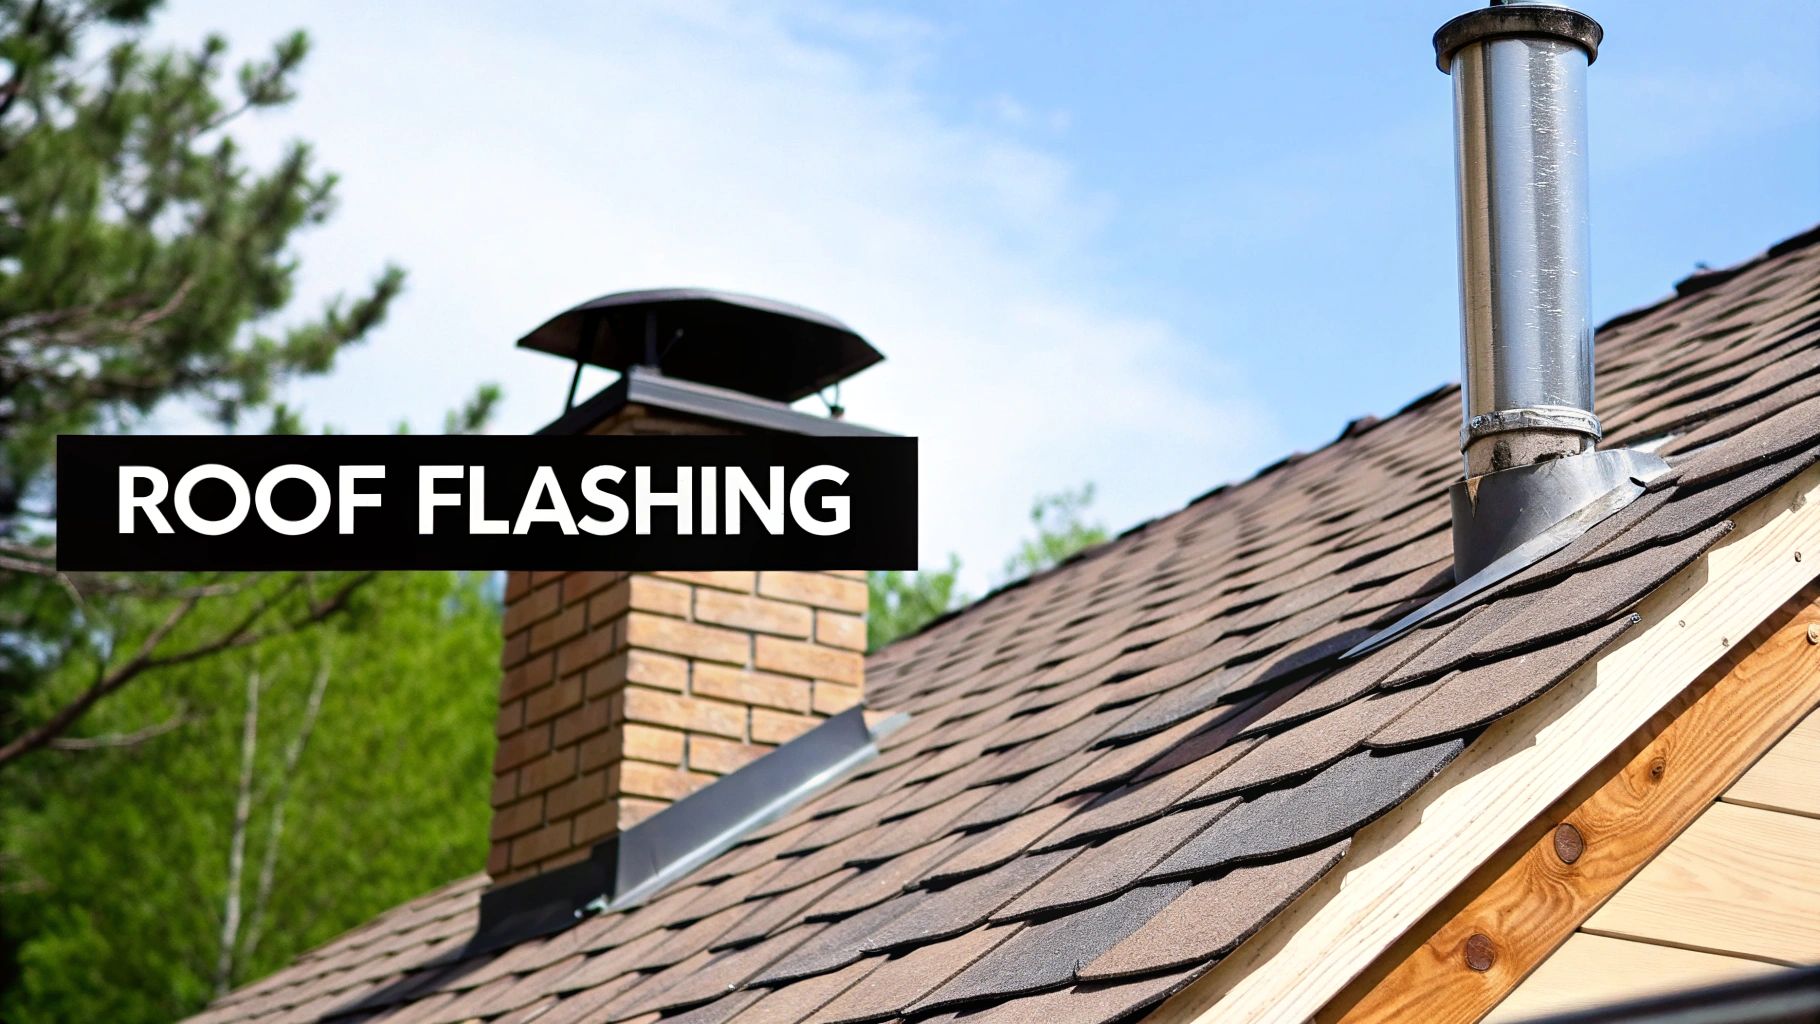
Your roof has an unsung hero, and it’s probably not what you think. It's called roof flashing. This is a thin, typically metal, waterproof material that expertly channels water away from the most vulnerable spots on your roof. You'll find it protecting the seals around chimneys, vents, skylights, and walls—the places most prone to leaks and expensive water damage.
If your shingles are the main shield against the elements, think of flashing as the specialized armor that guards all the critical joints. Understanding what it is and what to look for is your first step in preventing costly repairs.
Your Roof's Unsung Hero: What Is Roof Flashing?

Imagine flashing as the custom-fit raincoat for your home’s most crucial intersections. Your shingles do a fantastic job covering the wide-open surfaces, but they simply can't form a perfect, watertight seal wherever the roof meets another structure, like a chimney or a dormer window.
This is exactly where flashing steps in to prevent leaks. Those breaks in the roofline create natural pathways for water to sneak in. Without flashing, every rainstorm would be an open invitation for water to invade your attic, walls, and even your home's foundation.
Actionable Insight: Why Your Roof Fails Without It
The primary job of flashing is to control water flow. Gravity is relentless, and flashing gives that downward-flowing water an easy, safe path to follow—right off the roof and into your gutters. It’s a simple component, but it prevents a cascade of massive problems that could otherwise threaten your entire home.
A properly installed flashing system is one of the most critical parts of preventing long-term water damage. In our experience, flashing failures are a leading cause of roof leaks—often causing more headaches than shingle problems ever will.
Here’s the practical protection you get from correctly installed flashing:
- Prevents Leaks: It seals the gaps and joints that are otherwise impossible to waterproof, stopping water in its tracks before it can get inside.
- Stops Wood Rot: Flashing is essential for keeping the underlying roof deck and structural supports dry. This prevents the slow decay that can lead to catastrophic structural failure.
- Inhibits Mold Growth: By cutting off moisture at the source, flashing eliminates the damp, dark conditions that dangerous mold and mildew need to take hold in your attic and behind your walls.
Why Flashing Is Your First Defense Against Water Damage

Think about how rain moves. Gravity pulls it down your roof, and your shingles do a great job of shedding that water. But what happens when the water runs into something like a chimney, a vent pipe, or a skylight? It has to go somewhere.
Without the right protection, that "somewhere" is inside your house. Roof flashing acts as a waterproof bridge over these vulnerable joints. It’s designed to guide water safely around any interruptions and keep it flowing off your roof, not seeping into your attic. This simple system is your primary defense against one of a roof's biggest challenges.
The True Cost of Flashing Failure
When flashing fails, it’s not usually a dramatic event. It’s a quiet one. A small, hidden leak can slowly cause thousands of dollars in damage before you even notice something is wrong. By the time you spot a water stain, the real problem is often much bigger.
Flashing failure isn't just a leak; it's a gateway for progressive home decay. A single compromised joint can introduce moisture that rots structural timbers, invites pests, and fosters unhealthy mold growth deep within your walls.
This slow-motion disaster is about more than just a wet spot on the ceiling; it's a direct threat to your home's structure and your family’s well-being. Here are the common consequences of bad flashing to watch out for:
- Hidden Wood Rot: The underlying wood sheathing and roof trusses can begin to decay, seriously weakening your home’s frame.
- Dangerous Mold Growth: Constant moisture is the perfect breeding ground for toxic black mold, which can lead to major respiratory problems.
- Damaged Insulation: Once your insulation gets wet, it’s useless. This leads to higher energy bills and can cause your ceilings to sag and fail.
Construction studies show that water intrusion at roof joints is behind up to 50% of all roofing system failures. To truly protect penetrations, it pays to invest in quality materials, like reliable skylight flashing kits. In fact, the National Roofing Contractors Association (NRCA) estimates that improper flashing can jack up a roof's lifetime repair costs by 25-50%.
Identifying Common Types of Roof Flashing

While the basic idea of roof flashing is straightforward, its application is not. Different parts of your roof need uniquely designed pieces to guarantee a watertight seal. Knowing these types will help you understand how your roof is built and what to look for during a visual inspection.
Think of your roof less as a single surface and more as a complete system of interconnected layers. Each type of flashing is engineered for a very specific job at a particular junction or weak point.
Where Flashing Does Its Most Important Work
You can find flashing installed in several key areas on any roof. While some of it is tucked away, a lot is visible from the ground if you just know what to look for. Here are the most common types and the jobs they do.
-
Step Flashing: This is used where a sloped roof meets a vertical wall, like the side of a dormer or chimney. It consists of small, rectangular pieces woven into the shingles, one by one, creating a step-like pattern that forces water to keep flowing down and away from the wall.
-
Valley Flashing: Found in the "V" where two roof slopes meet, valleys handle a massive amount of rainwater. A solid, W-shaped piece of metal is installed here to create a tough, waterproof channel that directs all that water straight into your gutters.
-
Vent Pipe Flashing: Every house has plumbing vents sticking out of the roof. A pre-formed "boot" with a flexible rubber collar slides over the pipe and seals tight against it, stopping any water from sneaking in around the edges.
The Chimney: A Special Case
Of all the spots on a roof, the chimney is one of the trickiest to waterproof correctly. It requires a whole system of different flashing types working together, and it’s a major source of leaks if even one part fails.
A chimney needs a complete system, not just a single piece of metal. Think of it as four distinct walls, each needing its own specialized flashing that must be perfectly integrated to create an impenetrable barrier against rainwater.
This complex system usually includes:
- Front Apron Flashing: Sits at the base of the chimney on the downhill side.
- Step Flashing: Runs up both sides, woven into the shingle courses.
- Cricket (or Saddle) Flashing: A small, triangular structure built on the high side of the chimney to divert water around it instead of letting it pool up.
- Counter Flashing: The final piece. It's a separate piece of metal cut directly into the chimney's masonry that folds down over all the other flashing, creating the final, bulletproof seal.
How To Choose The Right Roof Flashing Materials
Not all flashing is created equal. Picking the right material is a critical decision that balances budget, durability, and your local climate. Think of it like buying tires for your car—you wouldn't put summer tires on for a blizzard, and you shouldn't use the wrong flashing for your roof's specific needs.
This isn't a new concept. Metal has been the go-to for roofing for a long time. In fact, galvanized metal flashing has been a cornerstone of the industry since the 19th century. The galvanizing process itself, which uses a zinc coating to stop rust, was developed in 1837 and quickly became the trusted choice for major buildings. You can learn more about the incredible history of metal roofing and see how these materials became so dominant.
Comparing Your Options
For most homeowners, the choice comes down to three main materials. Each one has its own set of pros and cons, offering a different mix of performance and value. Here is what you need to know to make an informed decision.
-
Aluminum: A roofer's favorite because it's lightweight, easy to shape, and cost-effective. It's naturally rust-resistant, but be aware: if it touches concrete or mortar, it needs a protective coating, as the high pH can cause it to corrode.
-
Galvanized Steel: This is the workhorse of the roofing world. It’s tough steel coated in a protective layer of zinc, giving you fantastic durability and rust protection without breaking the bank. For most residential homes, it’s the best all-around value.
-
Copper: The premium option. Copper is incredibly durable and can easily last for over a century. It doesn't need any painting or coating and develops a beautiful green patina over time. It's the top pick for historic homes or high-end projects where aesthetics are as important as performance.
To make this a bit easier, here’s a straightforward comparison of the most common materials you'll be choosing from.
Comparison Of Roof Flashing Materials
| Material | Average Lifespan | Cost Level | Best For |
|---|---|---|---|
| Aluminum | 20-25 Years | Low | Budget-conscious projects and DIY-friendly installations. |
| Galvanized Steel | 25-35 Years | Moderate | The all-around best value for most residential roofs. |
| Copper | 80-100+ Years | High | Historic restorations and luxury homes where longevity and aesthetics are key. |
As you can see, the material you pick has a major impact on both the upfront cost and, more importantly, how long you can expect it to protect your home.
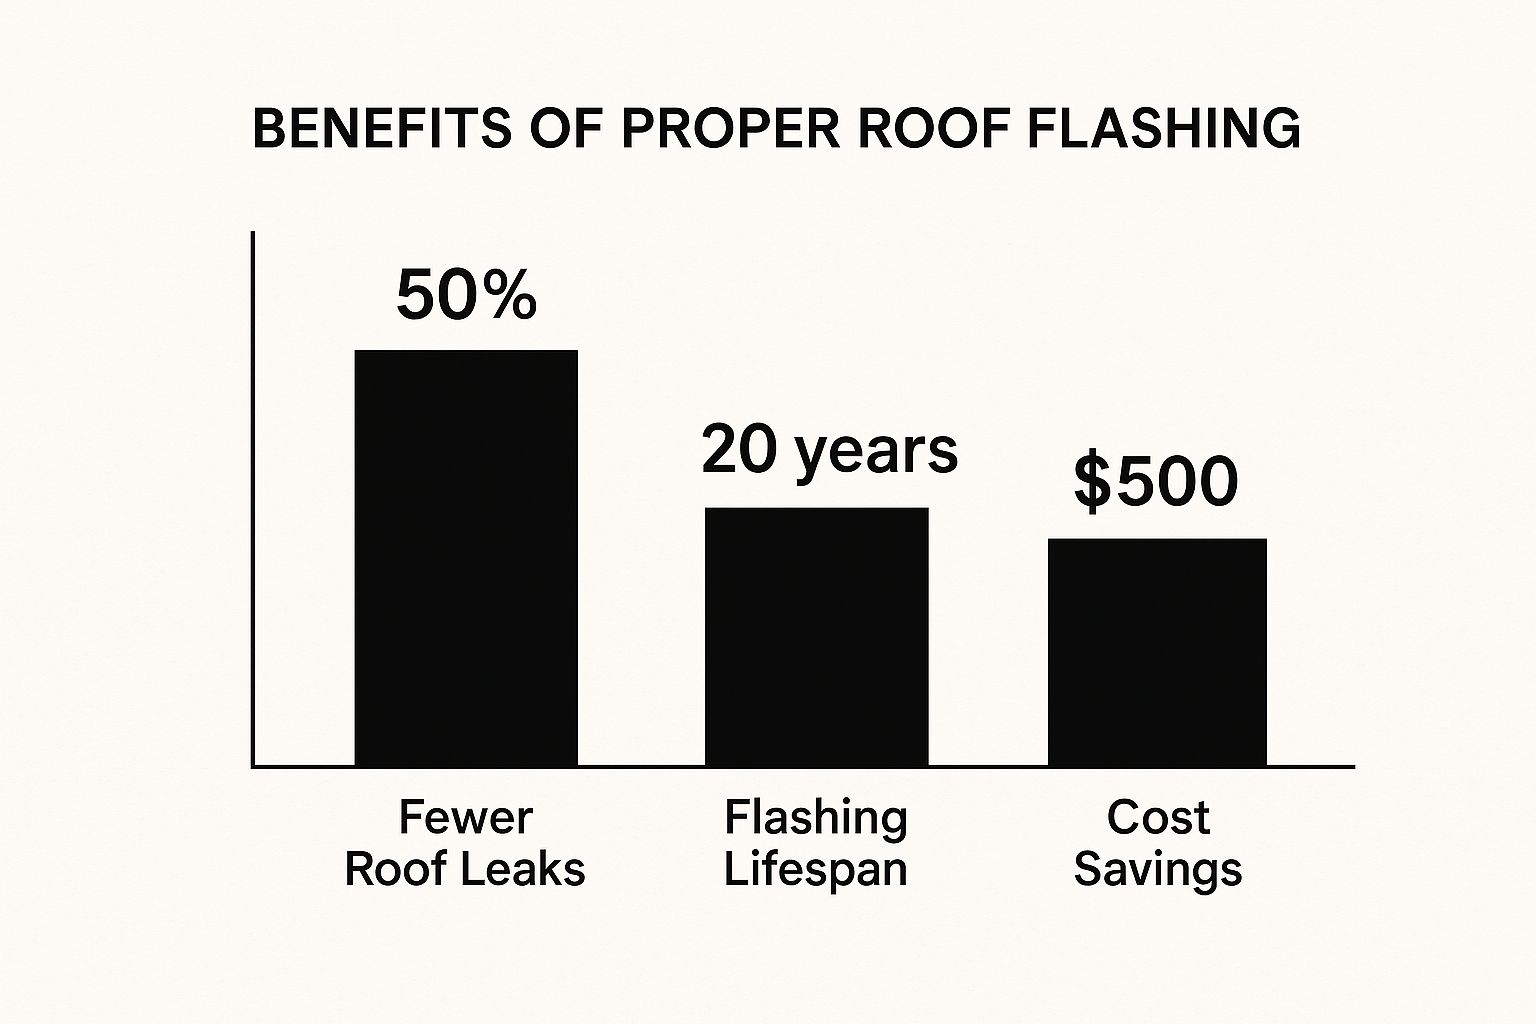
This chart drives home just how much of an impact the right flashing can have on your home's safety—and your wallet.

The numbers don't lie. Investing a little more in quality flashing materials pays for itself many times over, from fewer headaches with leaks to a roof that simply lasts longer.
Spotting the Warning Signs of Flashing Failure
Catching a problem with your roof flashing early can be the difference between a simple fix and a full-blown disaster involving major water damage. The good news is, you don't always need a professional to spot the first signs of trouble. Many of the tell-tale signs are visible right from the ground.
Keeping an eye on these things is the single best way to prevent a small headache from turning into a massive, expensive crisis down the road.
The most glaring red flag is, of course, visible damage. Grab a pair of binoculars and take a close look at the areas around your chimney, skylights, and vents. You're looking for flashing that's bent, has obvious cracks, or seems to be pulling away from the wall or the roof itself. Any gap you can see is basically an open door for water to get inside.
Your Ground-Level Inspection Checklist
You don’t need to get on a ladder to play detective. A quick walk-around every few months—and definitely after a big storm—can save you a world of hurt. Here’s a practical checklist of what to look for from the safety of the ground.
- Rust Stains: See reddish-brown streaks running down your shingles or siding? That's a classic sign your galvanized steel flashing is corroding and its protective zinc coating has failed.
- Cracked Sealant: Look closely at the edges where the flashing meets a wall or vent. If the caulk or roofing cement looks dried out, cracked, or is peeling away, your waterproof seal is compromised.
- Loose or Missing Pieces: High winds can lift or even rip off entire sections of flashing. If a piece looks loose, or if you see a spot where it's completely gone, you have an urgent problem that needs immediate attention.
Think of it this way: even a tiny, insignificant-looking crack in a piece of flashing can let gallons of water sneak into your home's structure over time. It's a silent threat that causes a ton of damage long before you ever see a water stain on your ceiling.
While these visual checks are a great first step, properly diagnosing and fixing flashing isn't a DIY job. Getting on your roof is incredibly dangerous, and a botched repair can easily make the leak even worse. If these warning signs are missed and you end up with serious water intrusion, understanding how to handle the situation is key. For that, this A Homeowner's Guide to Property Damage Assessment is an excellent resource.
If you spot any of these issues, your next and only move should be to call a qualified roofing contractor to get an expert opinion.
Answering Your Top Roof Flashing Questions
Now that we’ve covered the basics of roof flashing, you probably have a few questions. That’s good. Here are some of the most common ones we hear from homeowners, with straight-shooting answers to help you stay on top of your home's maintenance.
Can You Repair Roof Flashing Instead Of Replacing It?
Sometimes, yes. For minor issues like a small hole or a bit of dried-out sealant, a professional can often apply a high-quality roofing cement or a patch to get things watertight again. This is a good short-term fix for isolated damage.
However, for bigger problems, replacement is the only real solution. If you’re seeing widespread rust, large cracks, or the metal has completely pulled away from the wall or chimney, a simple patch won’t cut it. In those cases, installing brand new flashing is the only way to guarantee your roof is protected for the long haul.
How Often Should Roof Flashing Be Inspected?
We recommend a professional inspection of your entire roof, including flashing, at least once every one to two years. It’s also a smart move to schedule an inspection right after a major storm, especially if it involved high winds or heavy hail.
Think of a flashing inspection like a regular health check-up. Being proactive is the best way to catch small issues before they turn into major water damage, saving you a ton of money and headaches down the road.
Does Installing New Shingles Require New Flashing?
Yes, 100%. Any reputable, honest roofer will insist on installing new flashing with a new roof. It might seem like a way to save a few bucks, but reusing old flashing is a massive gamble that puts your entire new roof at risk.
Old flashing has already been through years of wear and tear. It’s almost guaranteed to fail long before your new shingles give out, leading to leaks and potentially voiding your new roof’s warranty. Always make sure new flashing is listed as a line item on your roofing quote.
Is your roof flashing looking a little worse for wear? Don't wait for a small problem to become a catastrophe. The team at Exact Roofing provides expert roof repair and replacement services to keep your South Florida home safe and dry. Contact us today for a professional inspection and a free quote!

