When you’re facing insurance claims for roof damage, the first few steps you take are absolutely critical. Before you even call your insurance company, you need to be proactive. Your immediate actions—securing your property, documenting the damage as-is, and making temporary repairs—are non-negotiable.
Taking these immediate actions shows the insurance company you’re a responsible homeowner and sets a more professional tone for the entire claim process.
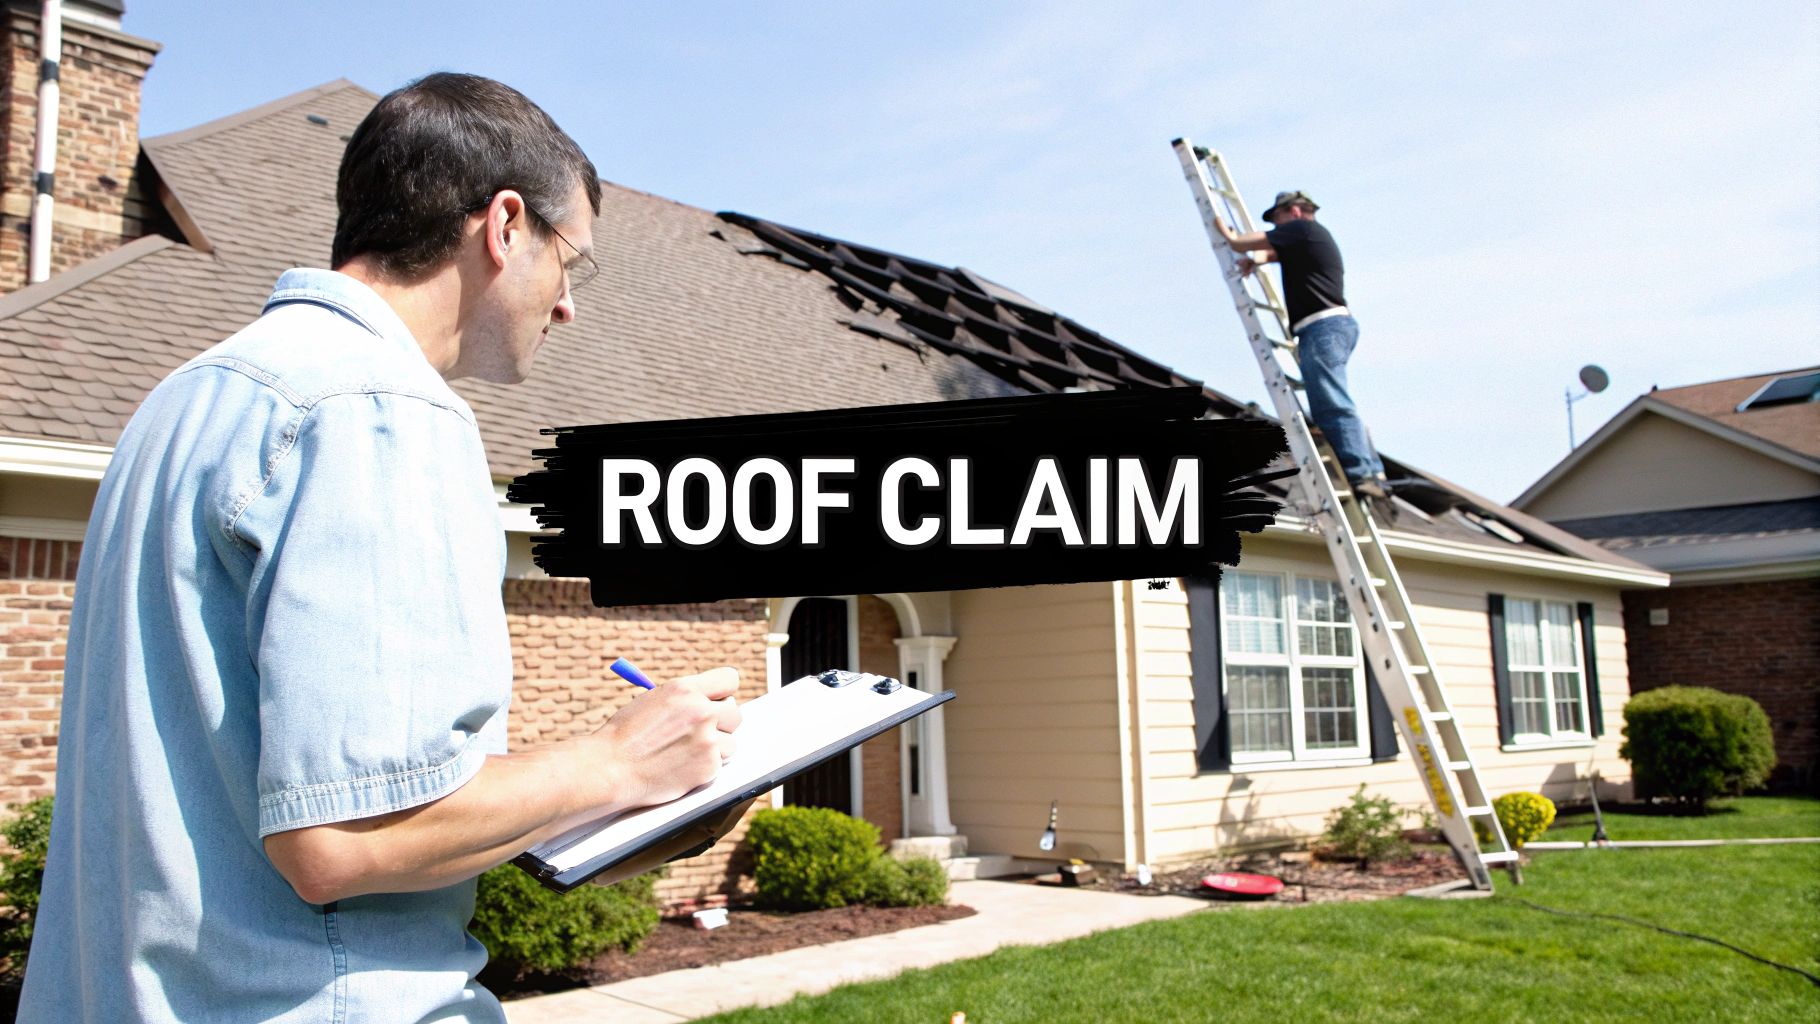
What to Do Immediately After Discovering Roof damage

Finding a new water stain spreading across your ceiling or seeing your shingles littered across the lawn is a gut-punch. But the actions you take in the first few hours can make or break your insurance claim.
Your goal is simple: act responsibly to stop the damage from getting worse. This isn’t just good advice; it’s a requirement in most insurance policies. Whatever you do, resist the urge to climb up on the roof yourself, especially if it’s wet or windy. That’s a job for a professional.
Action Step 1: Assess Damage Safely from the Ground
Your first move is a simple walkthrough around your property. Stay on the ground for safety; you can spot a surprising amount of evidence without a ladder. This initial survey is your first batch of evidence.
Look for these specific signs of trouble:
- Missing or Dislodged Shingles: Scan your yard, driveway, and garden beds. Find any shingles that blew off? Note where they are and roughly how many you see.
- Dented Gutters and Downspouts: Hail leaves its mark on metal. Check your gutters, downspouts, and even roof vents for dents—they are a clear sign of a significant hailstorm.
- Cracked or Curled Shingles: From the ground, look up at the roof. Do you see any shingles that are bent, cracked, or have their edges curling up? These are classic signs of wind damage or age-related wear that a storm pushed over the edge.
Action Step 2: Check Interior Spaces for Hidden Problems
Once you’ve surveyed the outside, head indoors. Much of the most compelling roof damage evidence isn’t visible from the street. The most important place to check is your attic or any crawl space directly under the roof.
Grab a flashlight and carefully inspect the underside of the roof deck. You’re hunting for dark water stains on the wood, clumps of wet insulation, or active drips. This is undeniable proof that the leak has penetrated your home. Don’t forget to check the ceilings on your top floor for any new or growing stains.
Key Takeaway: Documenting damage from both the outside and inside creates a much more powerful story for your insurer. A water stain in the attic right below a spot with missing shingles? That’s rock-solid evidence connecting the storm to the damage inside your home.
Action Step 3: Prioritize Temporary Mitigation
Now it’s time to stop the bleeding. Your homeowner’s policy includes a “duty to mitigate,” meaning you must take reasonable steps to prevent further damage. If you don’t, your insurer could deny coverage for any damage that occurs after you discovered the initial problem.
The most effective temporary fix is tarping. If you have an active leak, getting a heavy-duty tarp over the damaged section of the roof is the best way to keep water out. This prevents much costlier issues like mold, mildew, and structural rot. For safety, always hire a professional roofer to install a tarp.
Taking these immediate, proactive steps signals to your insurance company that you’re a partner in protecting your home. It changes the conversation from “I have a problem” to “I’m actively managing this situation,” which builds the trust you’ll need to navigate the rest of your roof damage claim smoothly.
Building an Undeniable Record of Your Roof Damage
Once you’ve handled immediate safety concerns and put temporary fixes in place, your mission is to build a fortress of evidence. For insurance claims for roof damage, the proof you gather is the single biggest factor in getting your claim approved. A few blurry photos from the ground won’t be enough.
Think like a private investigator building a case. Your goal is to assemble such a mountain of clear, undeniable proof that the insurance adjuster has no choice but to see things your way. This evidence is your best tool for getting a fair settlement.
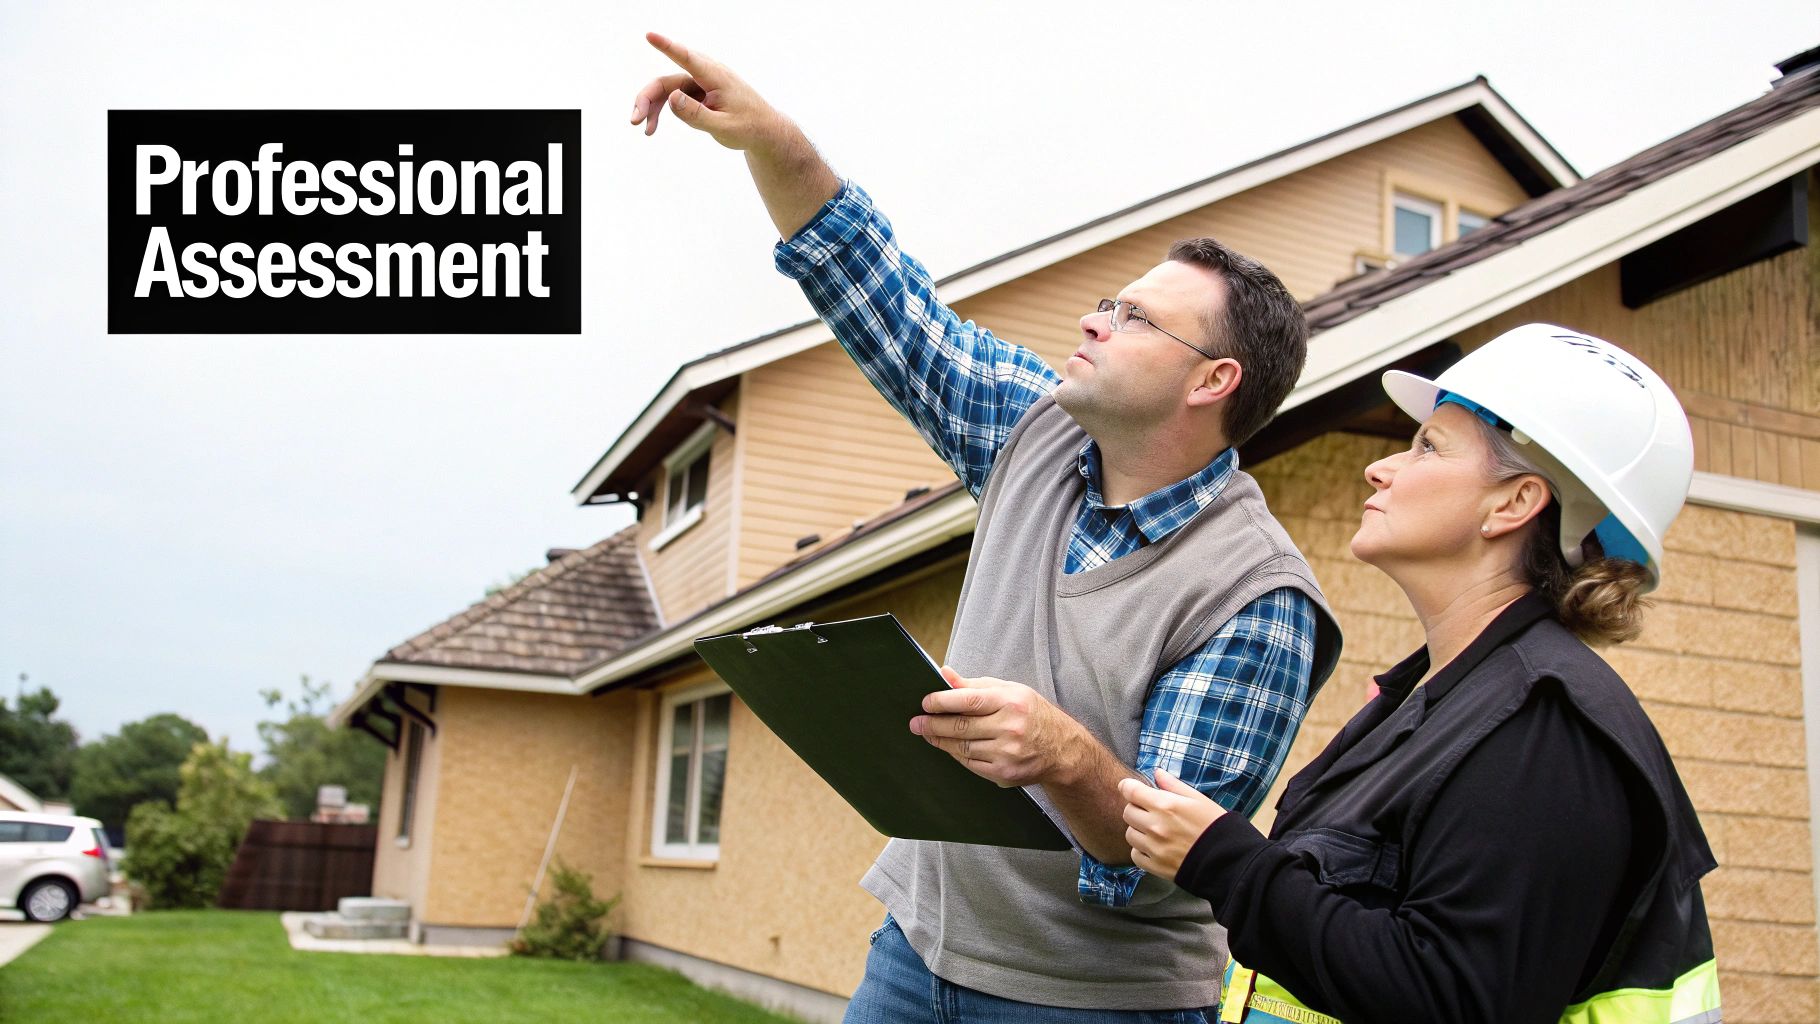
This visual guide shows the three main stages of the assessment process, from spotting the damage to figuring out repair costs.

As you can see, a proper assessment isn’t a single action. It’s a step-by-step process that paints a complete picture for the insurance company.
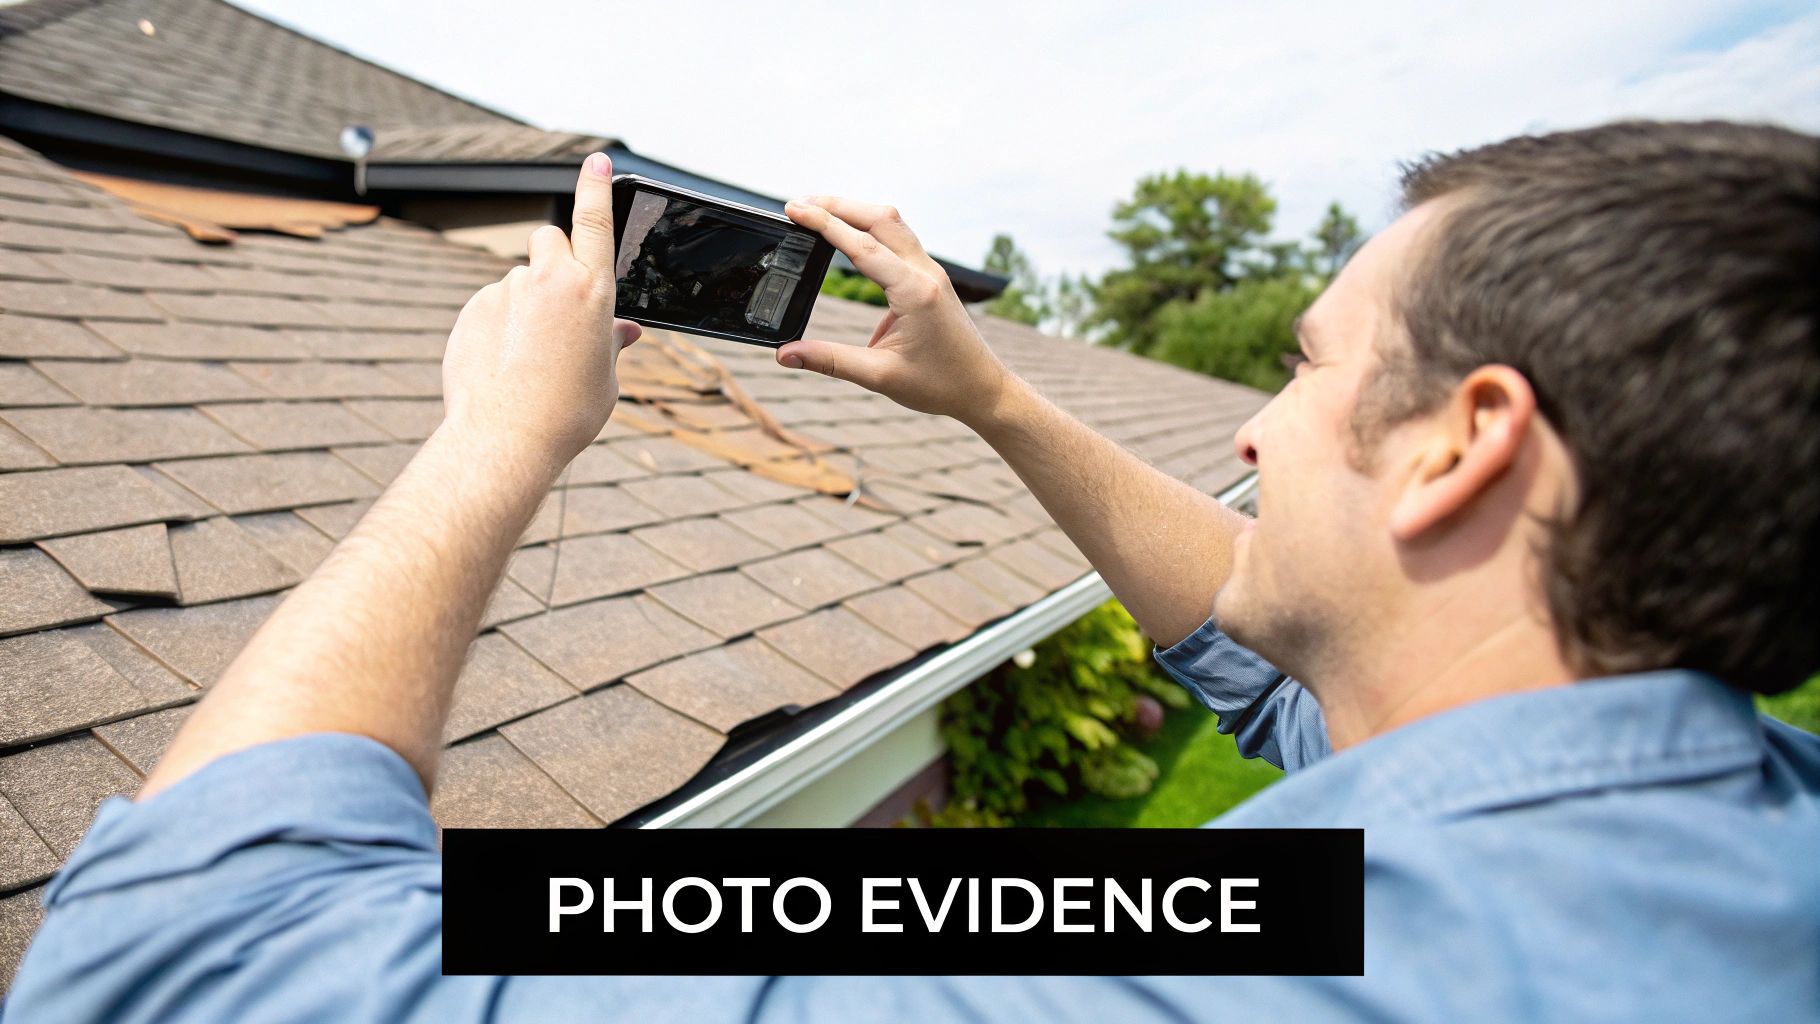
The Art of Strategic Photography and Videography
Your smartphone is your most powerful tool, but you must use it strategically. Tell a story with your photos. Start with wide shots of each side of your house to provide context.
Then, zoom in. If you can get on the roof safely, take detailed close-ups of every single point of damage. For hail, this means clear pictures of impact marks on shingles, gutters, flashing, and vents. For wind damage, document shingles that are lifted, creased, or completely missing.
Here’s a pro tip: place a familiar object, like a quarter or a small ruler, right next to the damage in your close-up shots. This provides an immediate and undeniable sense of scale that an adjuster cannot dispute.
Don’t stop at photos. A slow, narrated video tour can be incredibly persuasive. Walk around your property, pointing out all damaged spots. Then, if possible, go into the attic and show any signs of leaks or water stains on the underside of the roof deck. Narrate as you record to explain exactly what the camera is seeing.
Look Beyond the Shingles
Storm damage is rarely confined to just the roof. To build a truly compelling case, you must document all “collateral damage” around your property. This secondary evidence helps prove the storm’s severity.
Make sure you photograph:
- Dents and dings on your AC unit
- Cracks or chips in your window sills and siding
- Damage to your fence, mailbox, or outdoor furniture
- Shredded plants and downed tree limbs
When an adjuster sees this kind of widespread impact, it’s much harder for them to dismiss the roof damage as simple “wear and tear.”
Hail is a massive issue, accounting for a staggering 45.5% of all homeowner claims nationwide. The average claim comes in at $11,695. With insurers seeing over half a million of these claims every year, they look at them under a microscope. This makes your detailed evidence absolutely critical.
Keep Meticulous Records and Reports
Your photos and videos are the heart of your claim, but you also need a written log. Start a dedicated notebook or a computer document to track every interaction.
Your communication log must include:
- Date and time of every call or email
- The name and title of every person you speak with
- A quick summary of the conversation
- Any claim numbers or reference codes you’re given
This log becomes priceless if there’s a dispute. It creates a bulletproof timeline and holds everyone accountable for what was said and promised.
To give your claim professional weight, organize your findings. The following checklist outlines the key evidence you must gather to build a rock-solid claim.
Essential Documentation Checklist for Your Roof Damage Claim
| Evidence Type | What to Capture | Why It’s Important |
|---|---|---|
| Wide-Angle Photos | Each side of the house, showing the entire roof slope. | Provides overall context and shows the scale of the property. |
| Close-Up Photos | Individual damaged shingles, dents, cracks, and creases. | Pinpoints specific damage points that need repair or replacement. |
| Scale Photos | A coin or ruler placed next to hail impacts or cracks. | Gives an undeniable sense of size for adjusters to assess severity. |
| Collateral Damage | Dented AC units, damaged siding, fences, and windows. | Proves the intensity of the storm and disputes “wear and tear” claims. |
| Video Walk-Through | A narrated tour of all exterior damage and interior leaks. | Creates a dynamic, easy-to-understand story of the event’s impact. |
| Written Log | Dates, times, names, and summaries of all communications. | Establishes a clear timeline and holds the insurer accountable. |
| Professional Report | A formal inspection report from a qualified contractor. | Adds credibility and translates your findings into industry language. |
A key part of this process is getting everything down on paper in a format the insurance company will respect. Using a professional roof inspection report template is a game-changer. When a qualified contractor fills this out, it adds a layer of credibility that an adjuster simply has to take seriously. It turns your photos and notes into the technical language they understand, ensuring nothing gets missed.
How to File Your Claim and Navigate the Process
With your evidence portfolio built, it’s time to initiate the claim. Filing insurance claims for roof damage can feel like wading into a sea of paperwork and confusing jargon. By approaching it methodically with your facts straight, you’ll be in a strong position.
Think of this as more than just reporting damage—you’re laying the groundwork for a successful negotiation. Your first call sets the tone.
Action Step 1: Make the First Contact
Your first move is to notify your insurance company via their online portal or claims hotline. Before you do, have your policy number ready. Prepare a simple, factual summary of what happened and when.
Stick to what you know and have documented. Avoid drama or guesswork. A straightforward statement like, “My home was hit by the hailstorm on May 15th, and I’ve found damage to my roof, gutters, and the AC unit” is perfect. Your job is to report facts, not to diagnose the problem or estimate costs.
During this call, the agent will give you a claim number. This number is your golden ticket—write it down, save it in your phone, and put it at the very top of your communication log. You’ll need it for every future interaction.
Action Step 2: Prepare for the First 48 Hours
Once your claim is filed, the clock starts. Expect a call from an insurance adjuster within a day or two. This person is assigned by your insurance company to investigate the damage and determine the payout.
Their first call is to introduce themselves and schedule an inspection of your roof. Be ready. Have your calendar handy to schedule the appointment. Crucially, have your trusted roofing contractor on standby to be there for that meeting.
Pro Tip: Do not let the adjuster rush you. It is vital to pick an appointment time that works for your roofer. Having your own expert on the roof alongside the adjuster is one of the most powerful actions you can take to ensure a fair assessment.
Action Step 3: Understand Your Payout: ACV vs. RCV
Understanding your policy’s payout structure is critical, as it directly impacts your final check. Your policy will pay out based on either Actual Cash Value (ACV) or Replacement Cost Value (RCV).
Here is the breakdown:
- Actual Cash Value (ACV): This is the value of your roof just before it was damaged. It is the replacement price minus depreciation for age and wear. If your 15-year-old roof is destroyed, an ACV policy might only provide half the money needed for a new one.
- Replacement Cost Value (RCV): This is the ideal coverage. RCV pays the full amount to replace your roof with new, similar materials, without deducting for depreciation. It is designed to make you whole.
With an RCV policy, you are typically paid in two stages. First, you receive a check for the ACV. Once you provide receipts proving you’ve completed the roof replacement, the insurer releases the remaining money (the depreciation).
The scale of storm damage is a huge deal for insurance companies. Back in 2022, convective storms—that’s stuff like hailstorms and high winds—racked up an estimated $29 billion in roofing insurance claims across the U.S. That number gives you an idea of the financial stakes involved. You can read more about the rising impact of these storms in this analysis of convective storm claim costs on claimsjournal.com.
Staying organized and knowing the lingo is half the battle. You can even find helpful pointers for organizing information by looking into things like how to optimize your strategy with WordPress SEO plugins. The adjuster’s inspection is the next big step, and being prepared for it is key to getting your claim approved and paid fairly.
Working with Adjusters and Roofing Contractors
Once your claim is filed, the real work begins. This next phase is about managing two crucial relationships that will determine the outcome of your insurance claims for roof damage: your interactions with the insurance adjuster and the roofer you hire.
You’re assembling a team for a high-stakes project. The adjuster works to protect the insurance company’s bottom line, while a top-notch roofer works to protect your home. Navigating this dynamic requires preparation, clear communication, and strategic action.
Action Step 1: Prepare for the Adjuster’s Inspection
The adjuster’s visit is the moment of truth. Their assessment becomes the basis for your settlement offer, so you must be prepared.
Before they arrive, organize all your documentation—photos, videos, communication log, and any initial quotes—in a folder ready to hand over. This demonstrates you are organized, serious, and prepared.
Most importantly, be present for the inspection. Walk the property with the adjuster and point out every single item you documented. Show them the dented gutters, the chipped siding, and the water spot in the attic. Your presence ensures they see the full picture through your eyes, not just what they spot in a quick walkthrough.
Crucial Tip: Never sign documents on the spot without knowing exactly what you’re agreeing to. It is perfectly acceptable to say, “I need to review this with my contractor before signing.” Rushed decisions rarely end well.
Action Step 2: Hire a Trustworthy Roofing Contractor
Choosing the right roofer is the single most important decision you’ll make. A great contractor is more than a repair person; they are your advocate, expert witness, and guide.
Be wary of “storm chasers”—out-of-state crews that appear after a storm, do sloppy work, cash the check, and disappear.
Red Flags of a Storm Chaser:
- They use aggressive sales tactics or pressure you to sign a contract on the spot.
- They offer to “eat” or “waive” your deductible—this is insurance fraud.
- Their truck has out-of-state plates, and they can’t provide a local address.
- They cannot produce proof of local licensing, liability insurance, or workers’ compensation.
- They show up at your door uninvited right after a storm.
A reputable local contractor, like us at Exact Roofing, has deep roots in the community. We have a portfolio of local work and a thorough understanding of Florida’s specific building codes and insurance claim process.
Action Step 3: Schedule a Joint Inspection
Here is a game-changing tactic: schedule your chosen roofer to be present during the adjuster’s inspection. This is a massive strategic advantage.
An adjuster might spend 20 minutes on your roof and miss half the damage. A seasoned roofer knows exactly what to look for and can point out subtle issues the adjuster might overlook.
Your contractor and the adjuster speak the same technical language. They can discuss material costs, labor needs, and code requirements on an expert level. This transforms the meeting from a one-sided assessment into a collaborative effort to get the scope of work right the first time.
With roofing repair costs soaring to nearly $31 billion in the U.S. in 2024, insurers are looking at claims more closely than ever. In fact, these roof issues now account for over 25% of all residential claim values. Many insurers are even using drones and aerial imagery to assess damage from afar, which makes having your own expert on the ground absolutely critical to ensure nothing gets missed. You can read more about how roofing costs are impacting the insurance industry at insurancebusinessmag.com.
The Contractor’s Role vs. a Public Adjuster
It’s vital to know where the lines are drawn. Your roofing contractor is your expert on the physical damage and the cost to fix it. They can and should discuss the scope of repairs and pricing directly with your adjuster.
However, they cannot legally negotiate the claim itself or interpret your policy’s fine print. Many states have strict laws against the Unlicensed Practice of Public Adjusting (UPPA). A roofer who crosses that line is breaking the law. Their job is to be the authority on the “what” (damage) and the “how much” (cost), not to argue policy coverage.
What to Do When Your Claim Is Denied or Underpaid
Receiving a denial letter or a lowball settlement offer is a gut-punch. But here’s the crucial thing to remember: a denial is rarely the final word. In the world of insurance claims for roof damage, this is often the start of a negotiation. Do not accept a low offer or a flat “no.”
Action Step 1: Understand Why Your Claim Was Rejected
Before you respond, you must know exactly why they said no. The insurance company is required to state the specific reason for their decision in the denial letter. That reason is your roadmap for fighting back.
Common reasons for denial include:
- Pre-existing damage: They claim your roof was already old or poorly maintained.
- Normal wear and tear: They argue the roof failed on its own, not due to a covered event.
- Insufficient damage: The adjuster decides only minor repairs are needed, not a full replacement.
- Policy exclusion: They cite fine print saying your specific type of damage isn’t covered.
Go straight back to your evidence. Your date-stamped photos taken right after the storm are your best weapon against a “pre-existing condition” claim.
Actionable Insight: The insurance company has to prove why they are denying you. Do not take their word for it. Read the exact policy language they cite and compare it directly to the evidence you’ve gathered.
Action Step 2: Formally Appeal the Decision
Your next move is to write a formal appeal letter. This must be a professional, fact-based response, sent via certified mail to create a delivery receipt.
In the letter, systematically dismantle their reason for denial. If they blamed “wear and tear,” counter with your contractor’s report identifying fresh hail impacts. If they claimed “insufficient damage,” include your roofer’s detailed estimate explaining why a full replacement is necessary to protect your home’s integrity.
Your appeal must clearly state your expectation: a full and fair settlement to cover the repairs outlined in your contractor’s estimate. This signals you are serious and prepared to fight for it.
Action Step 3: Escalate and Bring in Reinforcements
If your formal appeal is also denied, it’s time to escalate. A good first step is to request a different insurance adjuster. A fresh pair of eyes can often see things differently.
If that fails, hire a public adjuster. This is your secret weapon. Unlike the company’s adjuster, a public adjuster works for you. They are licensed professionals who specialize in insurance policies and negotiation tactics.
They will take over the entire claim process, from re-documenting damage to negotiating directly with the insurer. They typically work on a percentage of the final settlement, so they are motivated to get you the best possible outcome. While your roofer details the damage and costs, a public adjuster is the one who can legally fight for your claim. This move tells the insurance company you mean business.
Answering Your Top Roof Damage Claim Questions
Even with a solid plan, you’re bound to have questions when you’re staring down an insurance claim for roof damage. Getting straight answers is crucial, because bad information can lead to some seriously expensive mistakes. We’ve seen it happen.
Let’s cut through the noise and tackle the questions we hear most often from homeowners right in the thick of it.
How Long Do I Have to File a Claim?
This question trips a lot of people up because there are really two different clocks ticking. Your state’s laws might give you a year or even longer to file a lawsuit, but your insurance policy has its own, much tighter deadline for just reporting the damage.
Most policies use vague language, saying you must report damage “promptly” or “as soon as reasonably possible.” What does that mean in the real world? It means you need to call them right away. If you wait weeks or months, you’re handing the insurance company a perfect excuse to deny your claim. They’ll argue that another storm rolled through or that your delay made the damage worse. Don’t give them that opening.
Will One Claim Make My Premium Go Up?
This is a huge fear for homeowners, but it’s usually not how it works. Insurance companies are less concerned with a single claim after a big, widespread event like a hailstorm that hits your whole neighborhood. In those cases, they’re more likely to raise rates for the entire area, not just for you.
What will get you a rate hike is filing several unrelated claims in a short time. Don’t let the fear of a small premium increase stop you from filing a necessary claim for major roof damage. After all, that’s exactly why you’ve been paying for insurance all these years.
What Is the Real Difference Between ACV and RCV?
Getting this right is absolutely critical because it directly affects how much money you’ll get for your new roof.
- Replacement Cost Value (RCV): This is the coverage you want. It pays the full amount needed to replace your damaged roof with brand-new, similar materials at today’s labor and material prices. There’s no deduction for how old your roof was.
- Actual Cash Value (ACV): This is where homeowners can get into financial trouble. ACV coverage pays to replace your roof minus depreciation. If your roof is 15 years old with a 30-year expected lifespan, an ACV policy might only cover half the cost of a new one. You’re on the hook for the rest.
Here’s a key detail about RCV policies you need to know: The payout is a two-step process. You’ll first get a check for the ACV amount. The rest of the money (the “recoverable depreciation”) is only paid out after you prove the work is done by submitting the roofer’s final invoices.
Am I Required to Use My Insurer’s Recommended Roofer?
No, absolutely not. In fact, we strongly advise against it. You have every right to choose your own licensed and insured roofing contractor. While the insurer’s “preferred” list might seem helpful, you should always get at least three independent quotes.
Think about it: A roofer you find and hire works for you. Their loyalty is to you, not the insurance company. They become your advocate, making sure every last bit of damage is identified and that the repair scope is based on what’s actually needed to make your home safe—not just what the adjuster initially wants to pay for.
When you need a trusted expert to assess your roof and advocate for a proper repair, the team at Exact Roofing is here to help. We understand the South Florida claims process and will ensure your home is protected. Contact us today for a thorough inspection and estimate at https://www.exactcontractors.com.