To stop ice dams for good, you must fix the root cause. Forget chipping away icicles—that’s just a symptom. The real problem is a temperature imbalance: a warm roof melts snow, and that water refreezes at the cold edge of your roof, forming a dam.
Fixing that imbalance is the only permanent solution. This guide provides the actionable steps you need to take.
What Really Causes Ice Dams on Your Roof
An ice dam is a clear signal that your home's thermal barrier—the separation between your living space and the outdoors—has been breached. It’s a battle between inside heat and outside cold, and your roof is losing.
The problem starts with warm air leaking from your house into the attic through small gaps around light fixtures, plumbing pipes, or a poorly sealed attic hatch. These leaks act like small heaters, warming the roof sheathing from below.
Once the roof’s surface temperature rises above 32°F, the snow on top begins to melt from the bottom up. This creates a hidden flow of water under the snow blanket, heading down toward your eaves.
The Freeze and Block Cycle
This water flows down the slope until it reaches the eaves and gutters. Since these overhangs extend beyond the heated walls of your house, they remain at or below freezing.
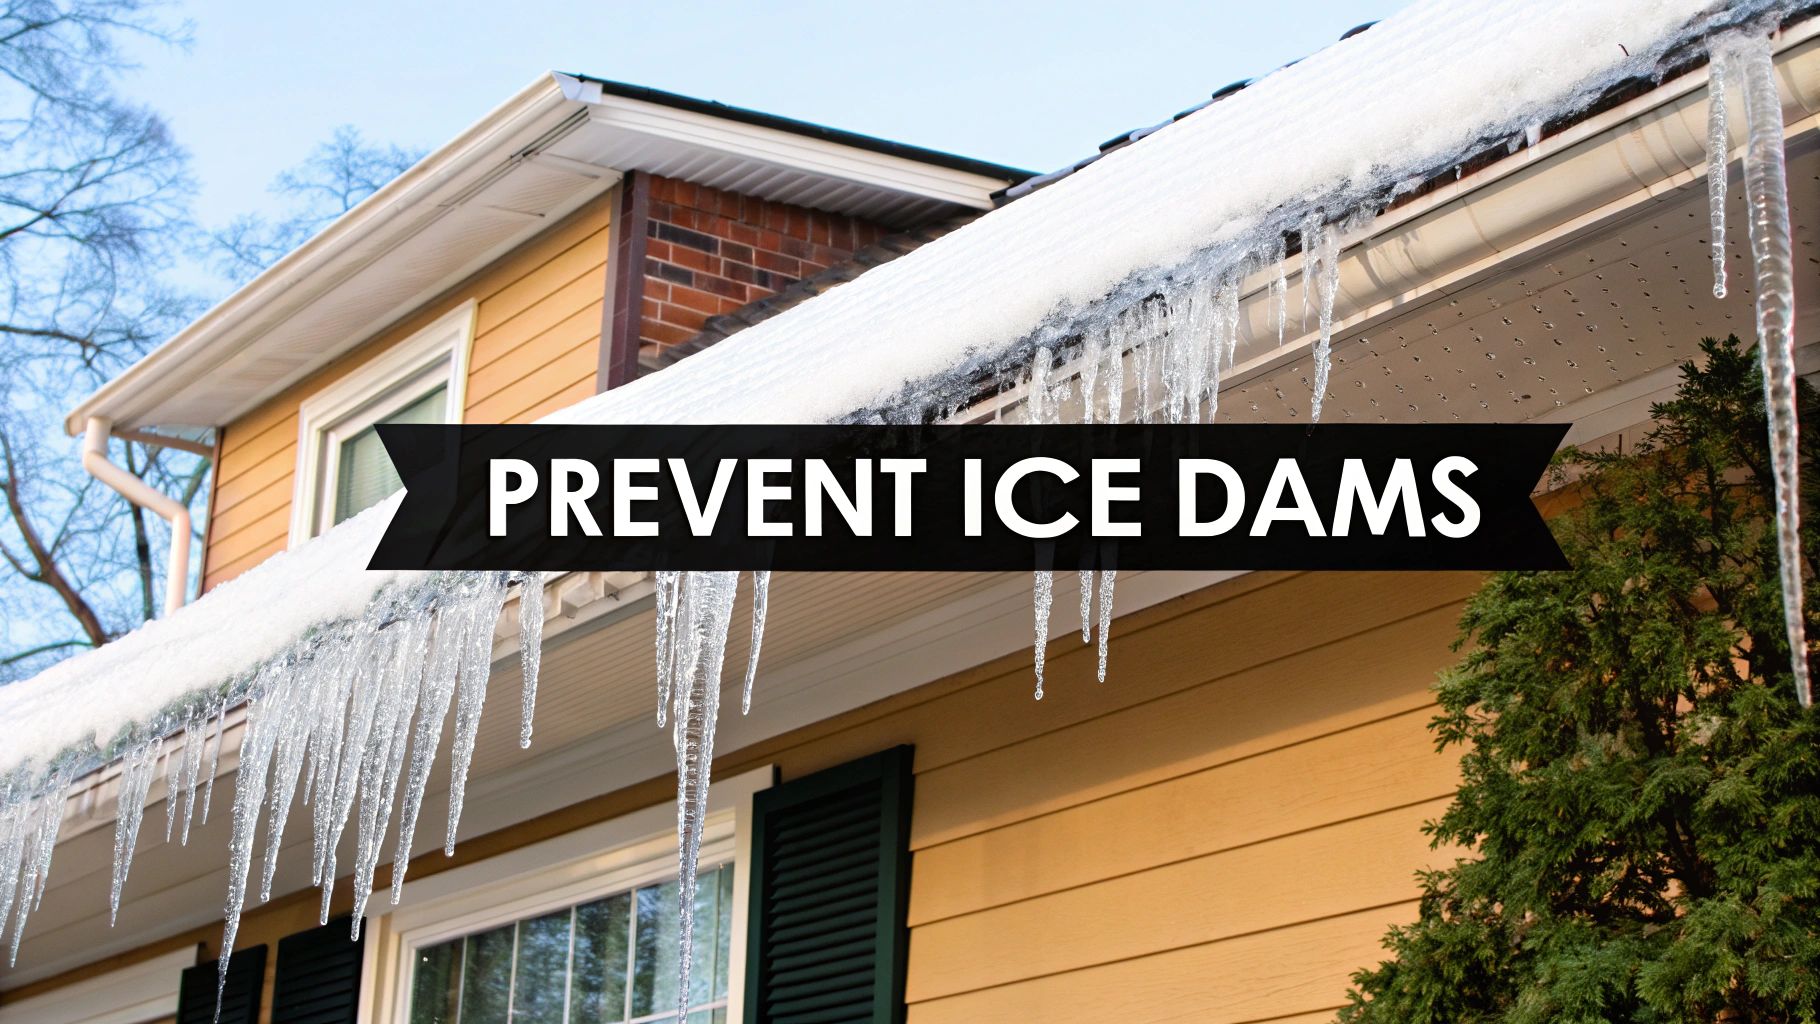
When the running water hits this cold zone, it refreezes, creating a small ridge of ice. As more water flows down, that ridge grows into a thick, heavy, and destructive dam.
Take Action: Understand that the real danger isn't the ice itself, but the pool of water trapped behind it. This water is forced up and under your shingles, where it can soak your roof deck, ruin insulation, and cause water stains on your ceilings.
Common Heat Loss Culprits
To solve the problem, you must find and seal these heat leaks. It's rarely one big issue; it's usually a combination of smaller problems.
Here are the most common culprits to look for in your attic:
- Poorly Sealed Attic Hatches: An uninsulated piece of plywood is often the single biggest source of heat loss.
- Recessed Can Lights: Older "can" style lights are notoriously leaky and act like chimneys, funneling warm air directly to your roof's underside.
- Inadequate Insulation: If your attic insulation is thin, compressed, or old, heat will pass right through it.
- Improperly Vented Exhaust Fans: Bathroom and kitchen fans that vent into an attic or soffit dump warm, moist air exactly where it will cause melting.
Ice dams are a classic problem in cold, snowy climates. For example, in February 2010, Pittsburgh received over 24 inches of snow, followed by weeks of temperatures in the 20s and 30s—perfect conditions for widespread ice dam damage. For more details on how weather patterns contribute, you can find effective strategies for managing them on jencapgroup.com.
By understanding this cycle of heat loss, melting, and refreezing, you're ready to implement a permanent solution.
The Permanent Fix: Improving Attic Insulation and Ventilation
While removing an existing ice dam provides temporary relief, it’s not a solution. To win the war against ice dams, you must stop heat from leaking into your attic.
Your goal is to create a "cold roof," where the entire roof deck stays as cold as the outside air. When you achieve this, the snow on your roof won't melt prematurely, and the ice dam cycle is stopped before it starts.
This permanent fix requires two components working together: insulation and ventilation. Getting these right will not only prevent ice dams but also make your home more energy-efficient and lower your heating bills.
Step 1: Air Sealing the Attic Floor
Before adding more insulation, you must seal all air leaks between your living space and the attic. Homeowners often skip this critical first step, and their new insulation underperforms because warm air simply bypasses it.
Think of it like putting on a winter coat but leaving it unzipped. You must seal the gaps first.
Here’s a checklist of common air leaks to seal:
- Around plumbing vents and exhaust fans: Seal the gaps where pipes and ducts pass through the ceiling.
- Gaps near electrical wiring: Use fire-rated caulk or foam to seal every small hole where wires enter the attic.
- The attic access hatch: This is a major offender. Weatherstrip the edges and attach a piece of rigid foam insulation to the back of the hatch.
Use a can of spray foam for small gaps and rigid foam board for larger openings. An airtight seal is the foundation for a permanent fix.
The most effective way to stop ice dams is to keep your attic space as cold as the outdoors. First, air-seal the attic floor to block rising warm air. Then, add sufficient insulation to stop conductive heat transfer. This two-part strategy is the key to preventing uneven snowmelt.
Step 2: Achieving Proper Insulation Levels
After sealing the air leaks, it's time to add insulation. A thick, uniform layer of insulation on your attic floor acts as a thermal blanket, keeping your home's heat where it belongs.
For most cold climates, your target R-value is between R-49 and R-60. This translates to approximately 16 to 22 inches of blown-in fiberglass or cellulose insulation across the entire attic floor.
Building science confirms that a cold attic is a healthy attic. Combining thorough air sealing with deep insulation ensures the roof deck never gets warm enough to melt snow. You can learn more about how proper sealing and insulation prevent ice dams on asphaltroofing.org.
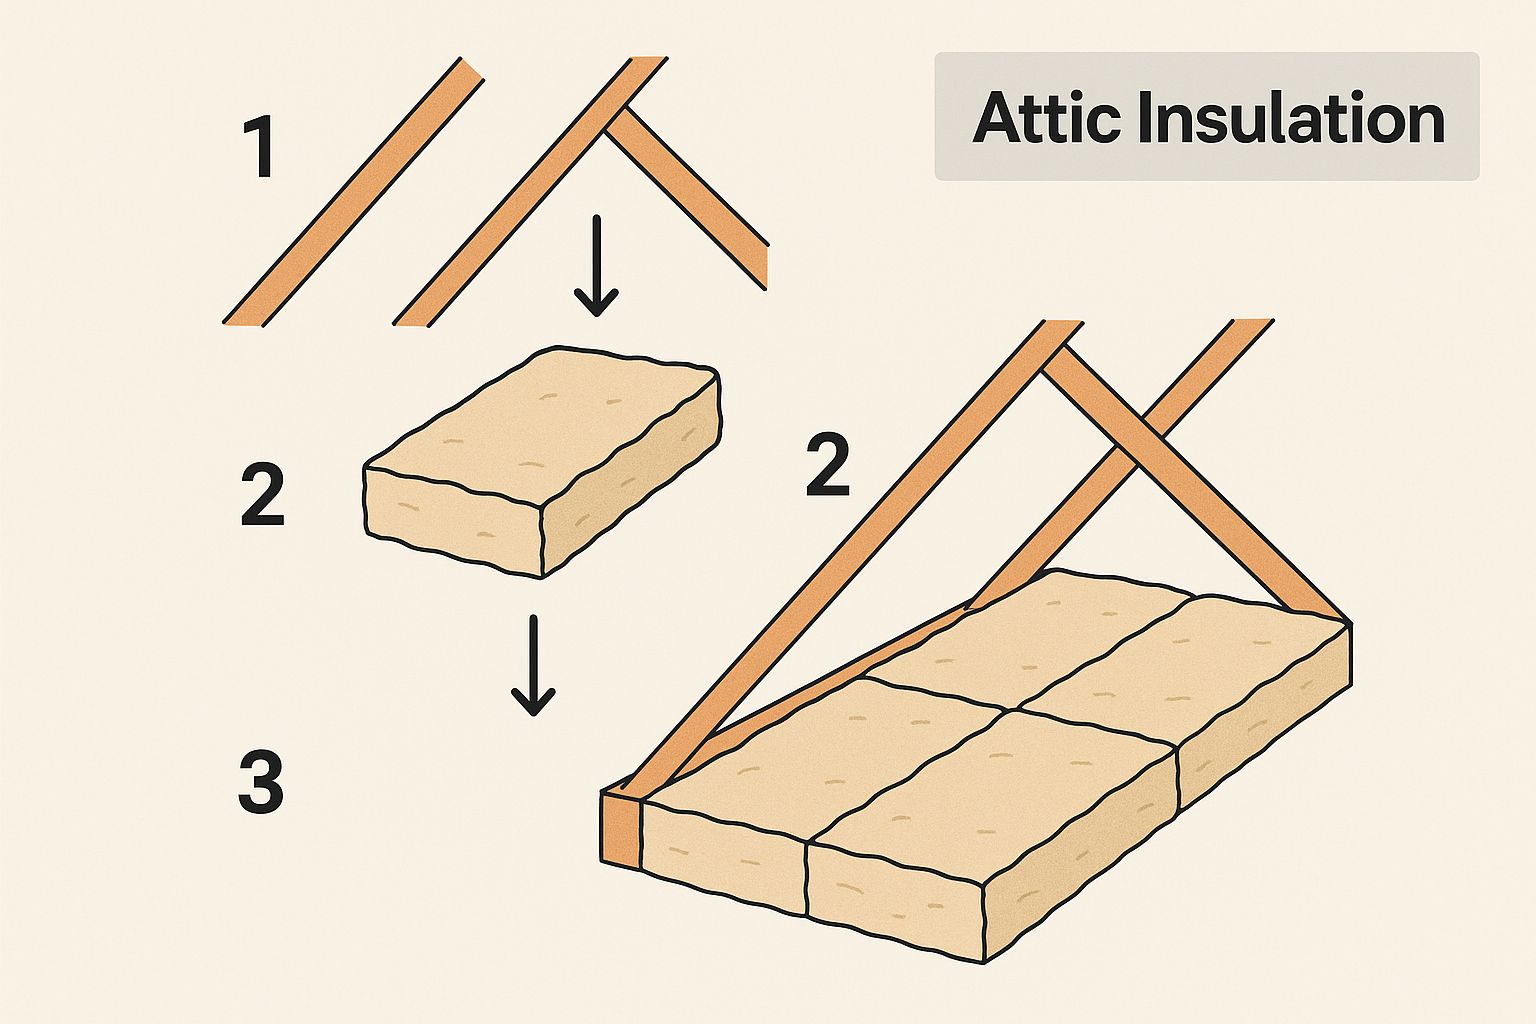
This diagram illustrates how a well-insulated attic creates an effective thermal barrier.

As shown, insulation must fit snugly between joists and cover the entire attic floor to stop heat from reaching the roof.
Step 3: Balancing Airflow With Ventilation
The final piece of a permanent solution is proper ventilation. A well-ventilated attic uses a constant flow of cold outdoor air to flush out any stray heat and moisture, keeping the underside of your roof cold and dry.
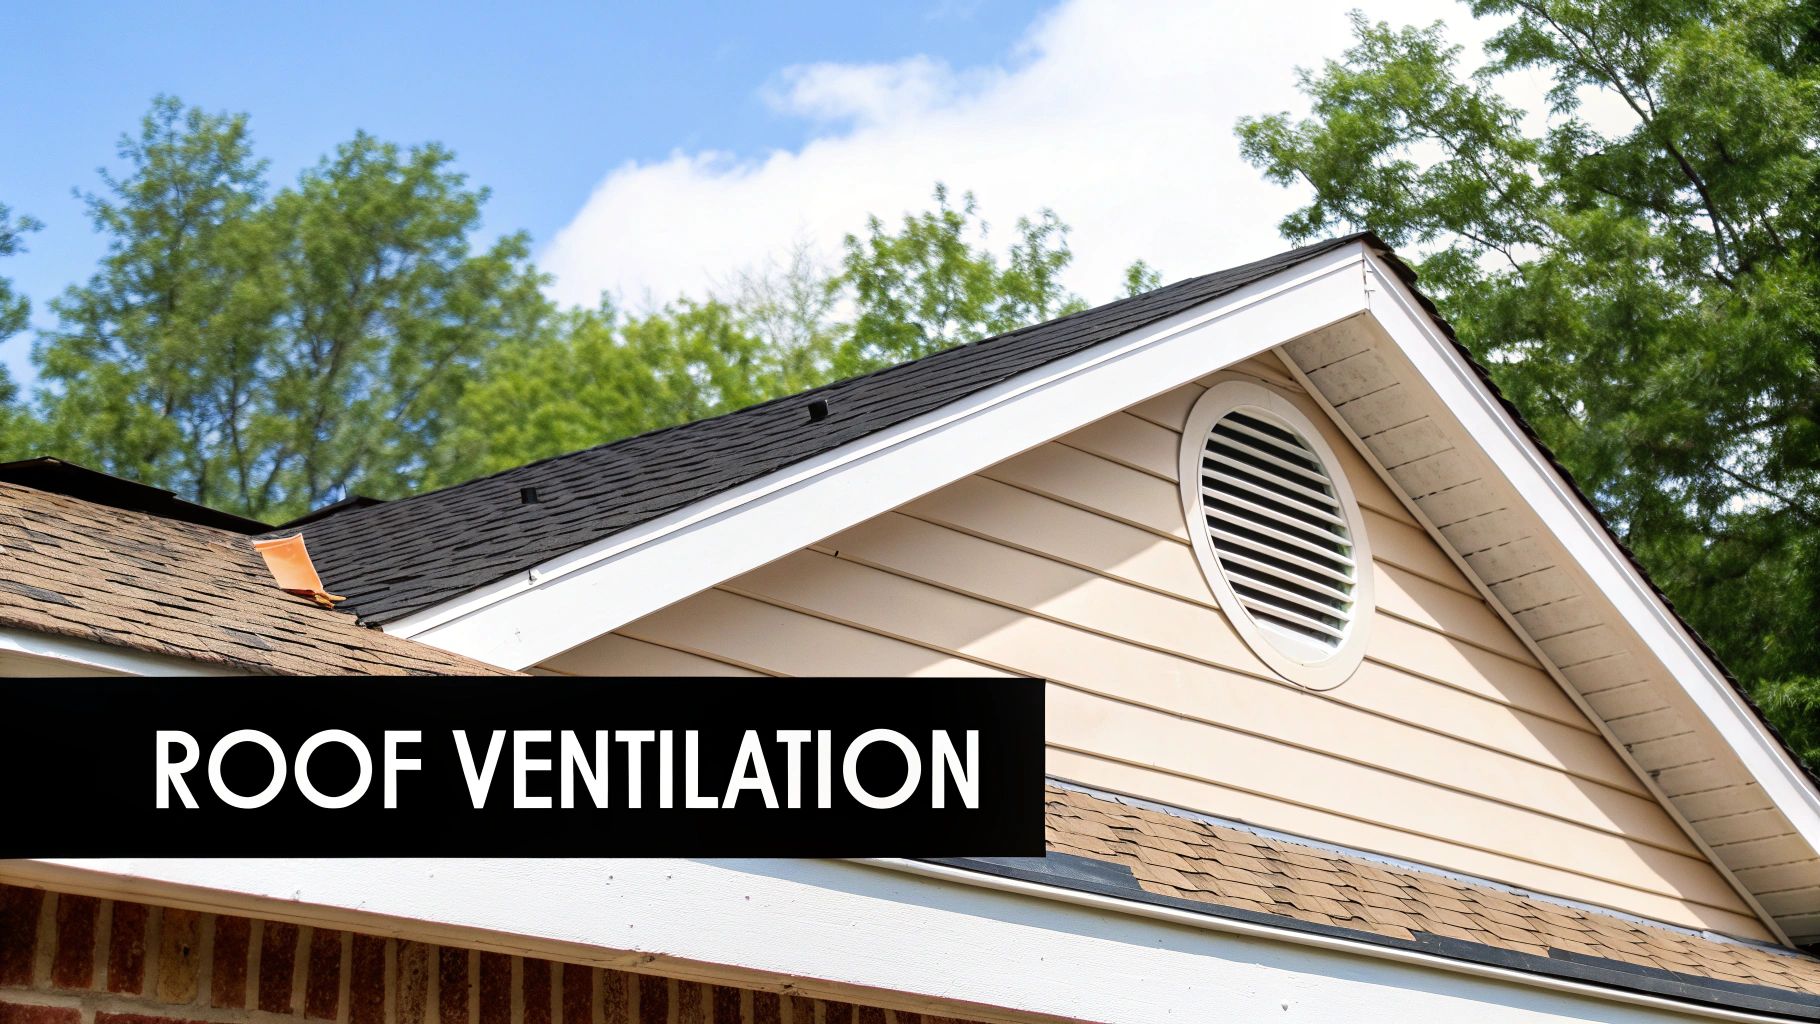
The most effective system uses a balanced combination of soffit and ridge vents.
- Soffit Vents: Located under the eaves, these vents act as the air intake, drawing in cold, fresh air.
- Ridge Vent: Running along the peak of the roof, this vent acts as the exhaust, allowing any warm air to escape as it rises.
This combination creates a passive, continuous airflow. Crucially, you must ensure that your new, deeper insulation does not block the soffit vents. Install baffles (also called rafter vents) at the eaves to maintain a clear channel for air to enter.
Action Plan: Key Attic Improvements for Ice Dam Prevention
Executing these long-term fixes in your attic is the only way to guarantee ice dams won't return. Here is a summary of the critical actions.
| Improvement Area | Primary Goal | Actionable Step | Impact |
|---|---|---|---|
| Air Sealing | Stop warm air convection | Use spray foam and rigid board to seal all gaps around vents, lights, and hatches. | Prevents warm air from bypassing insulation and directly heating the roof deck. |
| Insulation | Block conductive heat transfer | Add blown-in or batt insulation to achieve R-49 to R-60 levels. | Creates a strong thermal barrier, keeping heat in your living space. |
| Ventilation | Maintain a cold roof deck | Ensure a balanced system with soffit intakes and a ridge vent exhaust. | Flushes out residual heat and moisture, keeping the attic uniformly cold. |
Focusing on these three areas is a proactive investment that not only protects your roof from damage but also improves your home's overall energy efficiency for years to come.
Immediate Actions for Existing Ice Dams

Seeing a water stain spread across your ceiling during winter signals a roofing emergency. An active ice dam requires a quick but careful response to minimize damage.
While the long-term solution is in your attic, your immediate job is damage control. You need to create a path for trapped water to drain off the roof before it causes more harm.
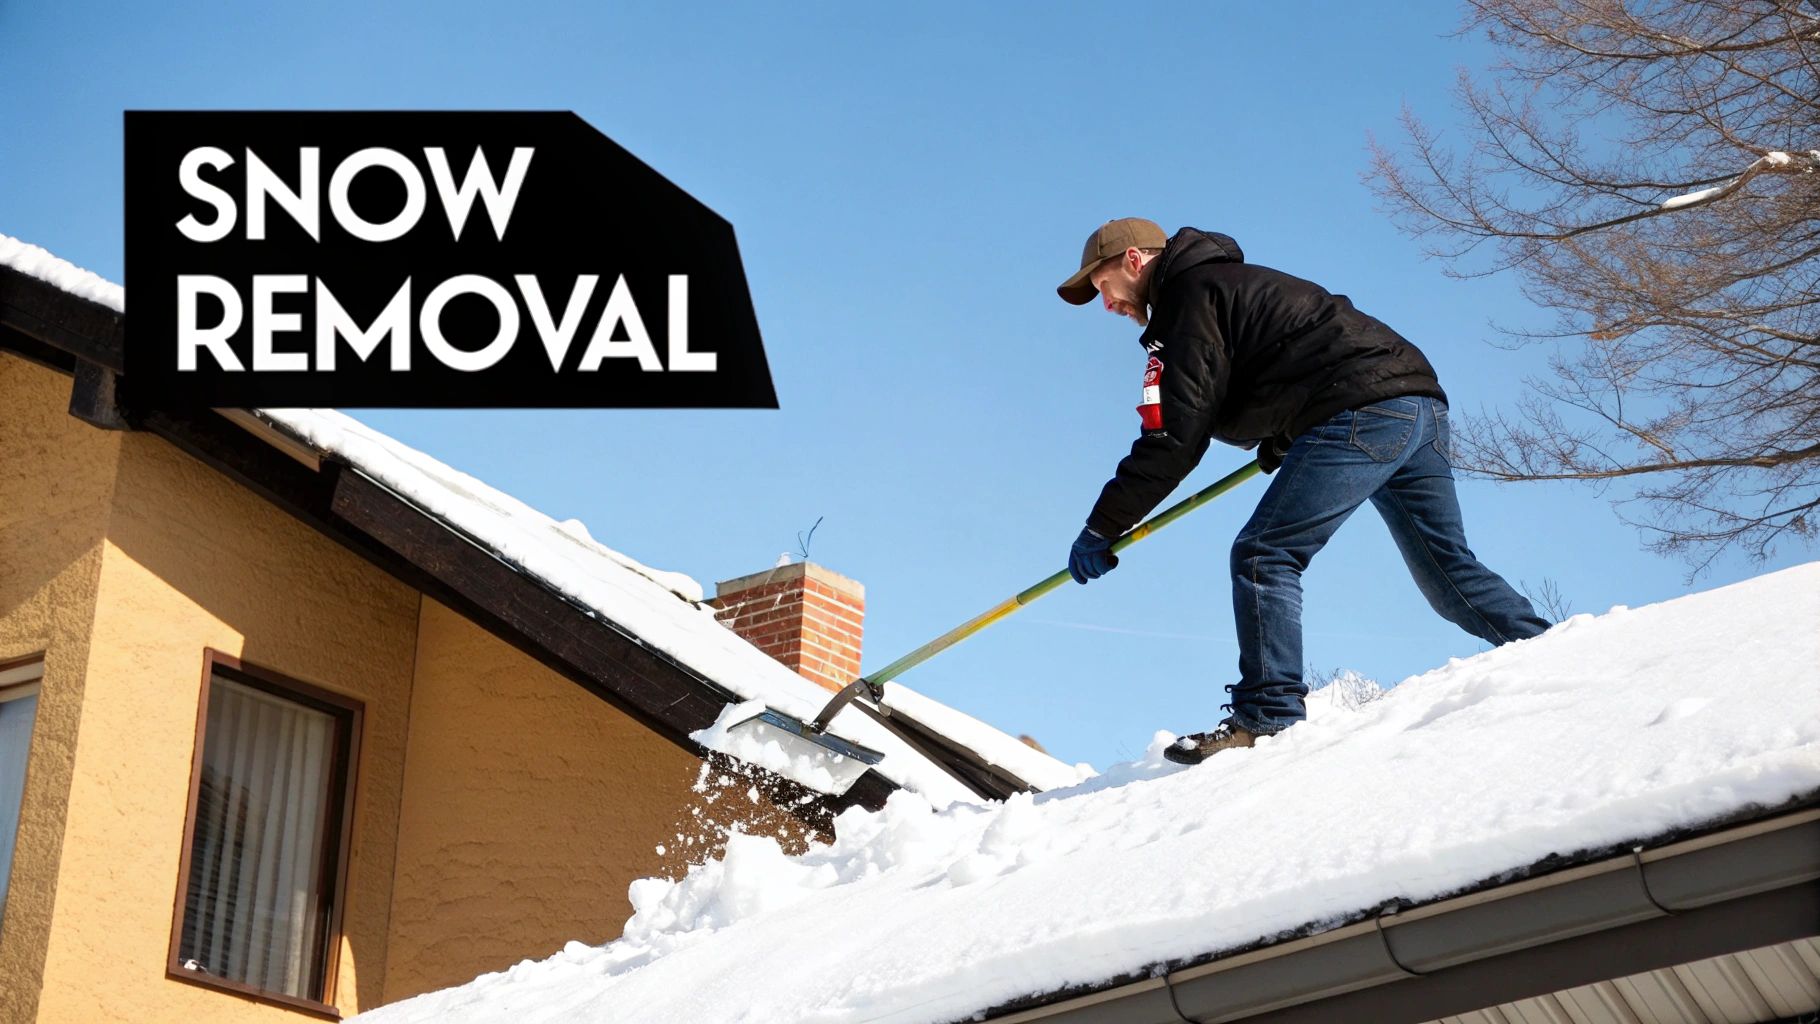
Your first action is to remove the snow that feeds the dam. With no more snow to melt, the dam will stop growing. The safest method for this is using a long-handled roof rake from the ground.
How to Use a Roof Rake Correctly
A roof rake is an essential tool for any homeowner in a snowy climate. Use it to safely remove snow from the first few feet of your roof's edge, where ice dams form.
Follow these steps for effective and safe roof raking:
- Work in small sections: Pull down manageable amounts of snow at a time. Trying to move a heavy sheet of snow can damage the rake or cause injury.
- Use a gentle touch: Avoid scraping or banging the rake head against your shingles. This can dislodge the protective granules and shorten your roof's lifespan.
- Clear a sufficient buffer zone: Remove all snow for at least three to four feet up from the roof's edge. This creates a cold zone where any remaining meltwater can refreeze or drain safely.
Removing the snowpack stops the melt-freeze cycle and gives you immediate relief.
Create Safe Drainage Channels with Calcium Chloride
With the snow removed, your next step is to create channels through the ice dam for water to escape. The key is to melt the ice, not break it.
Warning: Never use brute force. Hitting an ice dam with a hammer, axe, or shovel will destroy your shingles and create more leaks. The goal is to melt a channel, not demolish the dam.
The safest DIY method uses calcium chloride, an ice melt product that is less harmful to roofing materials than standard rock salt (sodium chloride).
Here is the step-by-step process:
- Fill an old pair of pantyhose or a long fabric tube sock with calcium chloride pellets.
- Safely place the filled sock vertically across the ice dam, so it drapes over the gutter edge.
- Let it work. The calcium chloride will slowly melt a channel through the ice, allowing trapped water to drain. For large dams, place several socks a few feet apart.
This targeted method is far safer and more effective than scattering loose salt, which can damage shingles, harm landscaping, and corrode gutters.
What Not to Do Under Any Circumstances
In a moment of panic, it's easy to consider dangerous "quick fixes." Avoid these common mistakes that will cause more damage than the ice dam itself.
- Do not use a pressure washer: Blasting your roof with hot water strips granules from shingles and forces water into your home.
- Never use a torch or open flame: This is an extreme fire hazard that will instantly damage roofing materials.
- Do not use hammers or chisels: As stated before, impact will shatter frozen, brittle shingles and create immediate leaks.
If you are unsure or the ice dam is too large to manage safely, call a professional. Reputable services use low-pressure steamers to melt the ice without damaging your roof.
Smart Exterior Maintenance to Prevent Buildup
While fixing your attic is the core solution for ice dams, don't neglect exterior maintenance. Simple upkeep on the outside of your house provides a critical second layer of defense against ice buildup.
Think of your attic improvements as your primary strategy and exterior maintenance as your backup plan. If you ignore your gutters, you can undermine all the hard work you did inside. Your goal is to ensure water has no place to linger and freeze.
Action Item: Keep Your Gutters Spotless
This is non-negotiable. Clogged gutters are an invitation for ice dams. When gutters are full of leaves and debris, melting snow cannot drain. It pools at the edge of your roof—the coldest spot—and quickly freezes solid.
Clean gutters, however, effectively channel water away from your home. Make it a strict fall routine to clean them thoroughly after all the leaves have fallen. This simple task prevents a small problem from becoming a destructive block of ice.
Strategic Use of De-icing Cables
Heated de-icing cables can be a useful tool, but they are a reactive measure, not a permanent solution. They treat the symptom (ice buildup), not the cause (a warm roof).
However, for problem spots on a roof that consistently form ice, these cables can be a pragmatic solution.
- Install Correctly: The cable must be installed in a zigzag pattern along the roof's edge, extending up the roof past the exterior wall line.
- Melt Clear Channels: This pattern is designed to melt channels through the ice, providing a clear path for water to reach the gutter and downspout.
- Don't Forget the Downspout: You must run a length of the cable down into the nearest downspout. If the downspout freezes solid, the meltwater will back up and refreeze on the roof.
Remember that de-icing cables use electricity and will increase your utility bill. They are a tool for managing ice in specific situations, not a substitute for proper attic air sealing and insulation.
Action Item: Inspect Your Exterior Vents
This often-overlooked detail can be a direct cause of ice dams. Ensure that vents from bathrooms, kitchens, and dryers terminate completely outside and away from your soffits (the underside of your roof's overhang).
Too often, exhaust vents mistakenly empty warm, moist air directly into the soffit area. This is like pointing a small heater at the coldest edge of your roof, which is guaranteed to melt snow and start the ice dam cycle in that specific spot.
Take a few minutes to walk around your house and visually inspect every exhaust vent. Make sure they are properly routed and directed away from your roofline. This five-minute check can solve a persistent and sneaky ice dam problem.
How Shifting Weather Patterns Impact Ice Dam Risk

Knowing how to prevent ice dams is becoming important for homeowners in more regions than ever before. Climate change is leading to more unpredictable weather, making a proactive defense essential.
The classic conditions for an ice dam—heavy snowfall followed by fluctuating freeze-thaw temperatures—are occurring more frequently and in new locations. Heavier snowstorms and more dramatic temperature swings mean that homes in areas that rarely experienced ice dams are now at risk.
A roof that performed well a decade ago may be vulnerable today simply because the weather patterns have changed.
Building a Climate-Resilient Roof
Your best defense against this uncertainty is not a quick fix but a resilient home. This means executing the fundamental improvements discussed throughout this guide: adding deep attic insulation, performing meticulous air sealing, and ensuring balanced ventilation.
These actions are not temporary winter patches; they are long-term investments in your home's durability. By creating a "cold roof," you build a defense system that works regardless of winter's severity. Your home becomes less reactive to freeze-thaw cycles because the snow on your roof stays frozen until it melts naturally with the outdoor air.
The key takeaway is that preparing for future winters means focusing on your home's core performance. A well-insulated and ventilated attic is your number one defense against increasingly unpredictable winter weather.
Scientific studies of natural ice dams support this. Research shows that as the climate warms, glacial ice dam events in mountain regions have shifted earlier by an average of six weeks. This highlights how sensitive ice formation is to small changes in temperature and snowfall. You can explore the full findings on climate impacts on ice dams from Nature.com to see the data. It's a clear reminder that our homes must be prepared for these evolving challenges.
Common Questions About Ice Dam Prevention
Getting straight answers to common questions is key to avoiding costly mistakes. Here are the actionable answers to the most frequent inquiries we receive.
Can I Just Chip the Ice Off My Roof?
No. Do not use blunt force on an ice dam. Grabbing a hammer or axe is a recipe for disaster.
Shingles become extremely brittle in freezing temperatures. Hitting them will cause them to crack and shatter, leading to expensive roof repairs. The correct method for an existing dam is to use calcium chloride-filled socks to gently melt drainage channels through the ice. This approach is effective and will not damage your roof.
Are Heated Cables a Permanent Solution?
No. Heated cables are a reactive tool, not a permanent solution. They treat the symptom—ice—but do nothing to fix the root cause, which is heat escaping from your attic.
While they can melt channels for drainage, they consume electricity and don't address the underlying energy loss. The only permanent solution is to properly insulate and ventilate your attic. This creates a cold roof deck and stops ice dams from forming in the first place.
Think of heated cables as a temporary patch for a problem area. They will never replace the permanent fix of a properly sealed, insulated, and ventilated attic. When you focus on the root cause, you not only solve the ice dam issue but also save a ton on your energy bills.
Will Removing My Gutters Prevent Ice Dams?
No. This is a common myth that creates more problems than it solves. Removing your gutters will not stop ice from forming on your roof's edge.
What it will do is dump all that meltwater directly against your home’s foundation. This can cause soil erosion, kill landscaping, and lead to serious basement leaks. The solution is not to remove your gutters, but to clean them thoroughly every fall.
How Much Attic Insulation Do I Really Need?
The specific amount depends on your climate zone, but for any region with significant snowfall, the U.S. Department of Energy recommends an insulation level between R-49 and R-60.
In practical terms, this means you need about 16 to 22 inches of blown-in fiberglass or cellulose insulation spread evenly across your attic floor. It is critical to ensure this insulation does not block your soffit vents. Use baffles to keep these airways open, as proper airflow is essential for preventing heat buildup.
If you're dealing with roofing problems or thinking about a replacement to better shield your home from the elements, the team at Exact Roofing is ready to help. Our pros are dedicated to making sure your roof is built to handle anything. You can learn more about our roof repair and replacement services by visiting us at https://www.exactcontractors.com.

