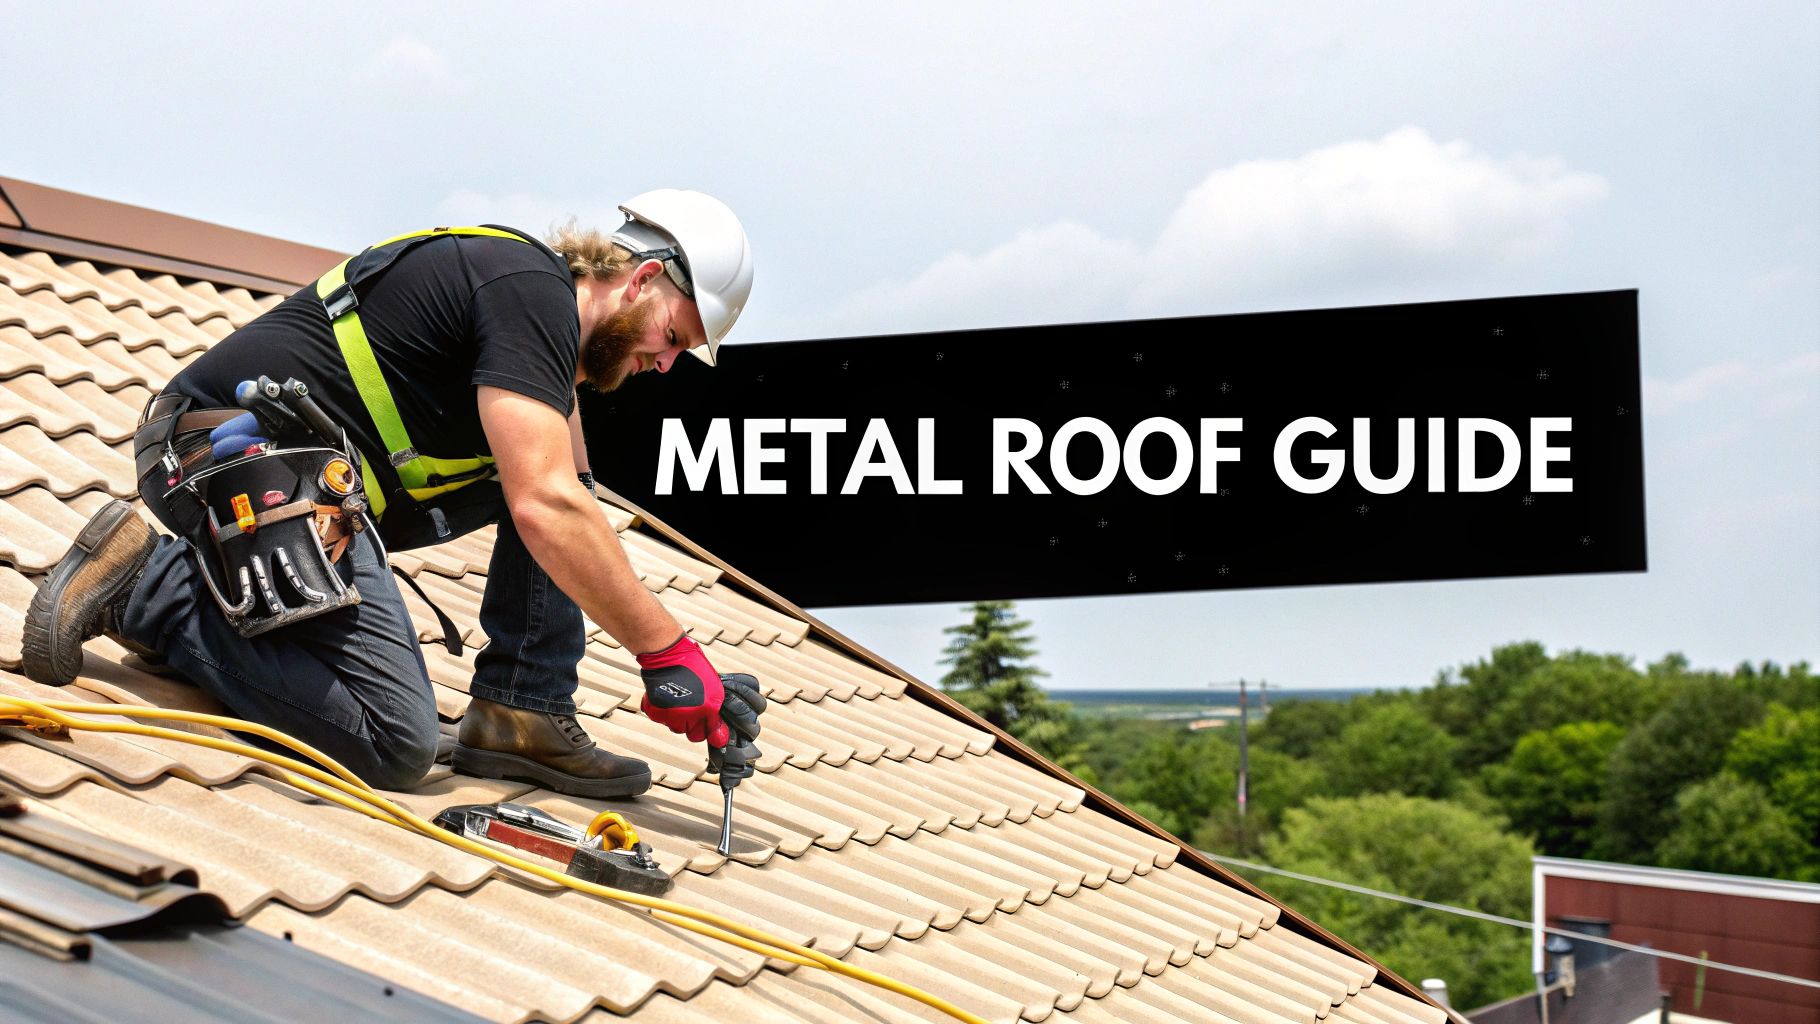
Building a Rock-Solid Roof Foundation
Your new metal roof's performance depends entirely on the foundation it sits on. Rushing this step will cause problems later. Before laying any panels, preparing the roof deck is the critical first action. This isn't busy work; it's the specific process that guarantees stability and prevents leaks. It is a non-negotiable step in any professional metal roof installation guide.
Your first actionable decision is whether to install over old asphalt shingles or perform a complete tear-off. While a "roof-over" might seem faster, it hides significant risks. You cannot see hidden rot or delamination in the sheathing, which will compromise the structural integrity of your new roof.
Key Takeaway: A complete tear-off is the correct action in nearly every scenario. It is the only way to inspect the sheathing, identify and repair water damage, and ensure your new fasteners have solid wood to bite into. Skipping this can void your material warranty.
Inspecting and Repairing the Roof Deck
Once the old roof is removed, the hands-on work begins. You must walk every square foot of the roof deck. Use your feet to detect spongy or soft areas—these are immediate red flags for moisture damage.
Next, visually inspect the sheathing. Look for dark stains, delaminated wood layers, and pay close attention to areas around vents, flashing, and in valleys. These are common leak points.
Any compromised sheathing must be replaced. Follow these steps:
- Mark It Out: Snap chalk lines to frame the damaged section in a square or rectangle. Ensure your lines fall on the center of the nearest rafters for solid support.
- Set Your Blade Depth: Adjust your circular saw blade to cut only through the sheathing (typically 1/2" or 5/8"). Do not cut into the roof rafters.
- Cut and Pry: Carefully cut along your lines and use a pry bar to remove the damaged piece.
- Patch It In: Cut a new piece of sheathing of the same thickness to fit the opening precisely. Securely nail or screw it to the rafters, ensuring it sits completely flush with the existing deck.
This meticulous repair work creates the smooth, solid surface required for a durable metal roof.
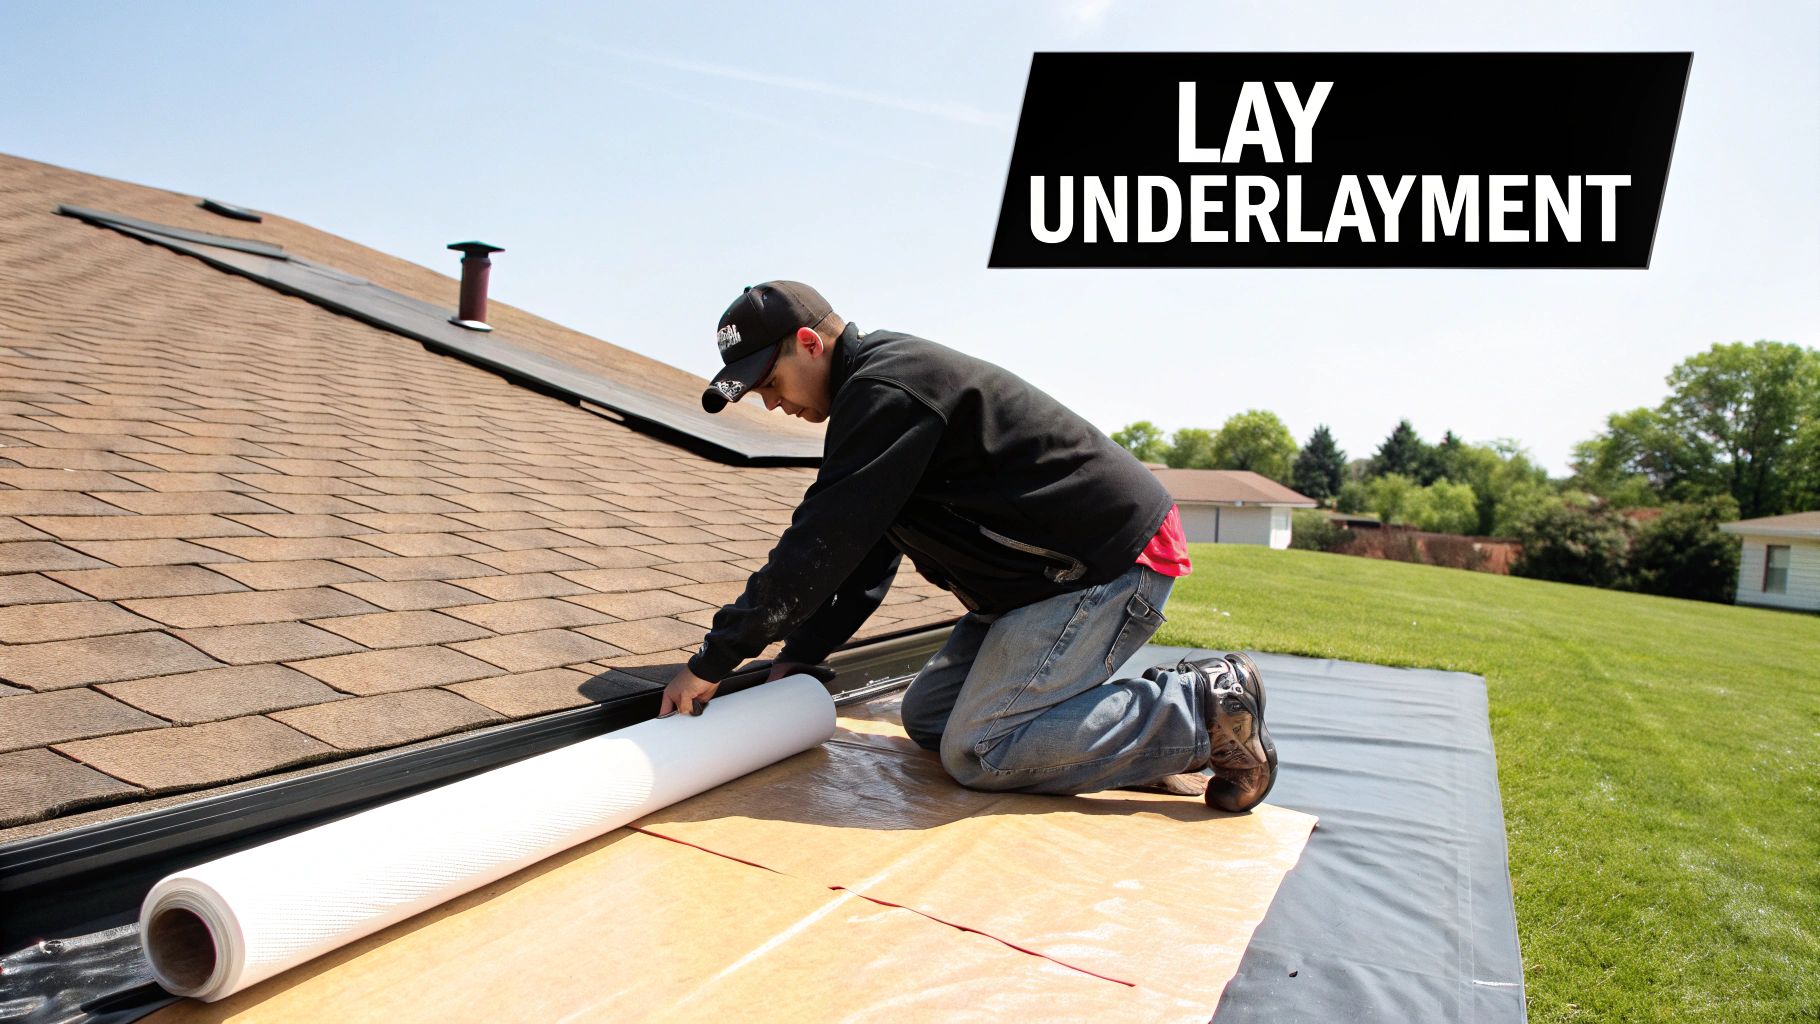
Choosing and Installing the Right Underlayment
With a solid deck, your next protective layer is the underlayment. For metal roofing, this is not a place to cut costs. Metal gets extremely hot, and this heat will degrade standard felt paper, causing it to crack and fail.
You must use a high-temperature, self-adhering "ice and water shield" underlayment. Its adhesive backing bonds directly to the roof deck. Crucially, it seals around every screw you drive through it, creating a vital secondary waterproof barrier. The added cost is a small investment for the level of protection it provides.
This need for robust materials is driving market growth. The steel roofing market, valued at USD 13.76 billion, is projected to hit USD 63 billion by 2033, showing a clear industry shift toward durable materials. You can review the full research on steel roofing market trends for more data.
Installing Eave Trim and Drip Edge
Now, install the first metal components: eave trim and drip edge. These pieces are foundational, providing a crisp finish and directing water away from your fascia and into the gutters.
Install the drip edge first, directly onto the underlayment along the eaves (the bottom horizontal edges). Fasten it every 12-16 inches with roofing nails. Its function is to prevent water from wicking back under the roof.
Gable or rake trim serves a similar purpose on the sloped sides but is installed after the panels to cap the system. For now, focus on a perfectly straight eave line.
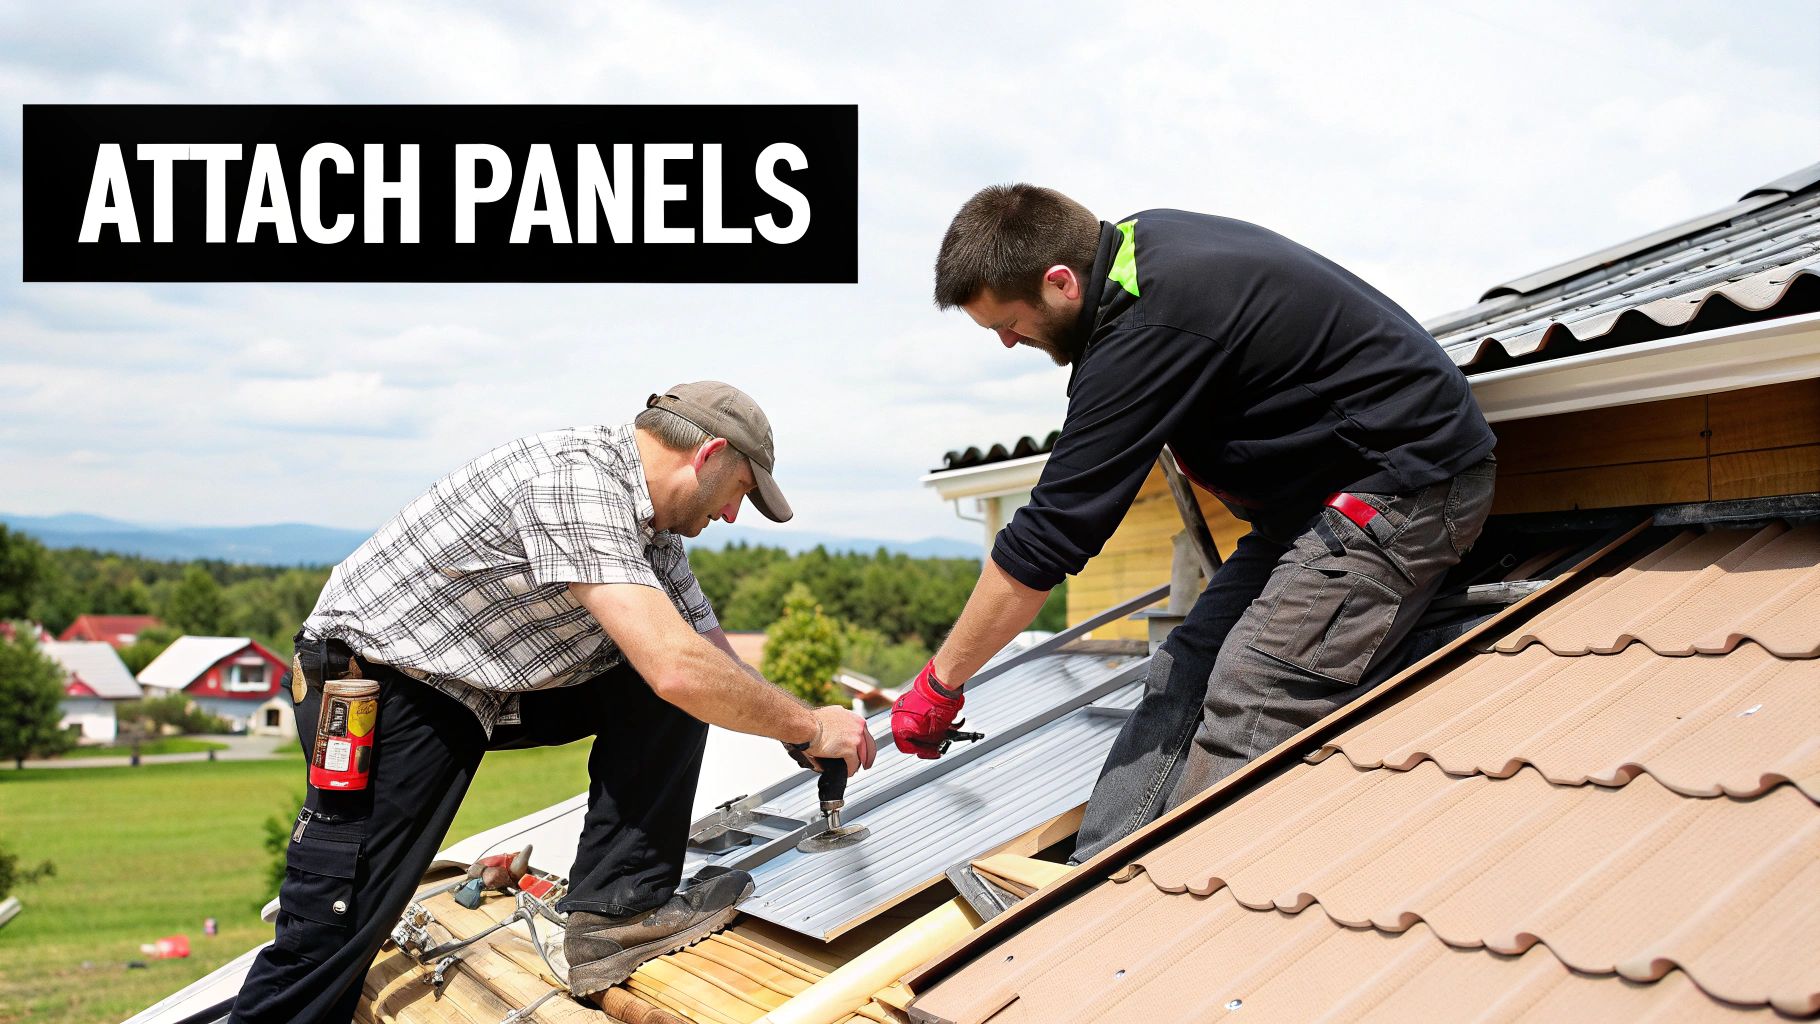
Laying and Securing Panels With Precision
This is the phase where your prep work pays off. Laying metal panels requires meticulous precision. Each step builds on the last, making accuracy essential for a professional, watertight finish. Focus on accuracy over speed, especially with the first panel.
The global metal roofing market was valued at USD 16.2 billion in 2022 and is projected to reach nearly USD 25.8 billion by 2031. This growth relies on installers using proven techniques for alignment and fastening—details that ensure decades of flawless performance. You can learn more about the factors driving the metal roofing market to understand the value of quality installation.
With a solid foundation, every action now contributes directly to the roof's final appearance and longevity.
This visual reinforces the most critical action before installing panels: ensuring a perfectly prepared surface.
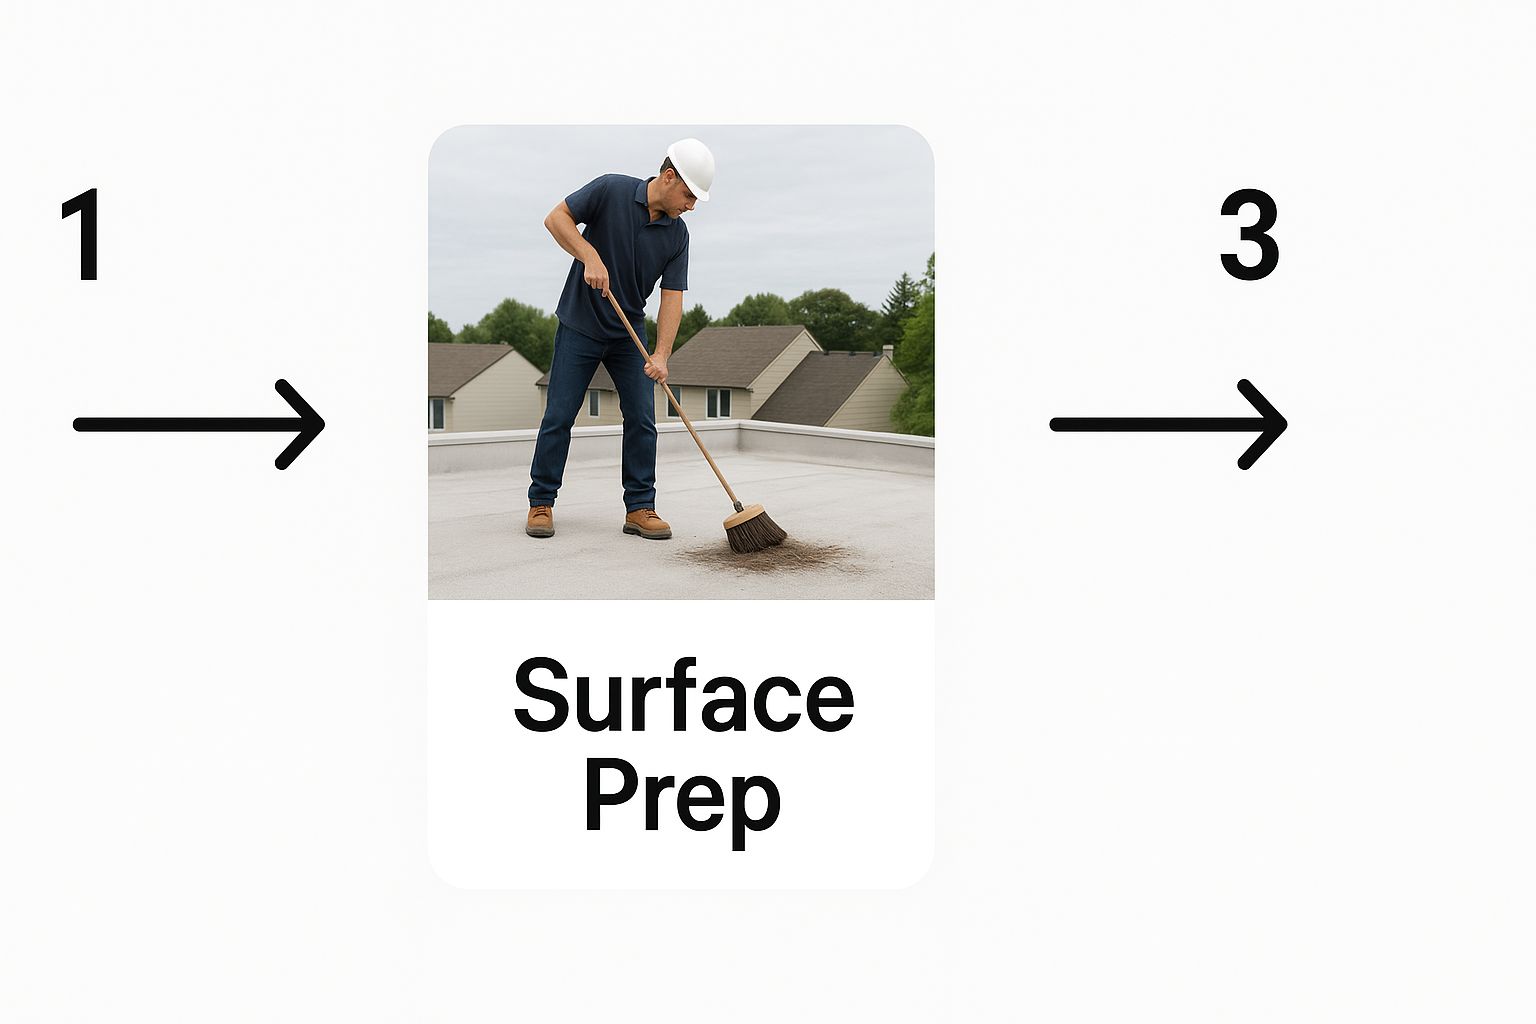
As you can see, a clean, stable, and correctly prepped roof deck is the non-negotiable starting point. Do not take shortcuts here.
Squaring the First Panel
The single most important action in the entire installation is setting the first panel perfectly square. An error here will be amplified with every subsequent panel, resulting in a crooked, unprofessional roof prone to leaks.
Do not rush. Measure meticulously.
Start on the eave edge, on the side opposite the prevailing winds. This positioning helps prevent wind and rain from being driven under panel seams. Measure in from the rake edge (sloped side) to your desired panel endpoint and snap a vertical chalk line from eave to ridge. This line is your guide.
Align the edge of your first panel perfectly with this chalk line. Ensure it overhangs the eave by the manufacturer's specified amount, typically 1 to 2 inches. This overhang directs water cleanly into the gutter.
Mastering the Fastening Pattern
With the first panel aligned, it's time to secure it. You need gasketed roofing screws and a screw gun with an adjustable clutch. The goal is a watertight seal, not brute force.
Drive screws into the "flat" part of the panel, adjacent to the major ribs—never on top of the ribs. Following the correct pattern is crucial for wind uplift resistance.
- Eave Fastening: Place screws on both sides of every major rib along the eave. This is a high-stress area that requires maximum hold.
- Field Fastening: In the main "field" of the roof, space screw rows approximately 24 inches apart.
- Seam Fastening: At the overlapping seam, place screws every 12 to 16 inches to create a tight, secure connection.
Pro Tip: Set your screw gun's clutch to the correct torque. Drive the screw until the rubber washer compresses snugly against the panel. If the washer bulges, it’s too tight and will fail. If it’s loose, it won’t seal. It should appear flat and compressed, not squashed.
Overlapping and Adding Panels
Once the first panel is square and secure, the rest of the installation follows a rhythm. Take your second panel and nest its overlapping rib over the underlapping rib of the first. It should fit snugly.
Before fastening, double-check that the eave overhang is identical to the first panel to maintain a straight line. Repeat this process across the roof, but pause to check for square every few panels to ensure you haven't drifted.
Making Precise Cuts for Obstructions
Few roofs are simple rectangles. You will encounter vents, pipes, and chimneys. Clean, precise cuts are a hallmark of professional work, and your tool choice is critical.
Tool Selection for Cuts
| Tool | Best Use Case | Why It's Recommended |
|---|---|---|
| Electric Metal Shears | Long, straight cuts | Delivers a clean, fast cut without heat or sparks that damage the panel’s protective coating. |
| Hand Snips (Aviators) | Small, intricate cuts (circles, notches) | Provides excellent control for detailed work around pipes. Keep left, right, and straight snips available. |
| Nibbler | Curved cuts and tight spaces | Punches out tiny bits of metal, allowing you to cut complex shapes without bending the panel. |
Under no circumstances use an abrasive saw or grinder. The intense heat and sparks burn off the galvanized or Galvalume coating, leaving the cut edge exposed to rust.
Always cut with the finished side of the panel facing down to avoid scratching the paint with metal filings (swarf). After cutting, meticulously wipe all metal filings from the panel surface before installation.
Installing Trim and Flashing for a Watertight Finish
If laying panels is the main event, installing trim and flashing is the critical finish work. This step elevates a roof from looking good to being completely weatherproof. Flawless trim is what distinguishes a professional, long-lasting installation from an amateur one.
This stage is about active water management. Your goal is to direct every drop safely off the roof and seal every potential entry point against weather.
This guide explains not just what to do, but the "why" behind each action. Understanding these water-shedding principles empowers you to tackle any roofing challenge. The objective is a bomb-proof seal that lasts for decades.
Securing the Gable Ends
With the main panels installed, your first trim task is the gable ends (or rakes)—the sloped edges of the roof.
Gable trim provides a finished look, but its primary function is to protect the edge of the last panel from wind uplift and driving rain. The trim caps over the panel's edge and fastens into the underlying fascia or framing.
During installation, overlap each piece of trim over the one below it by several inches to maintain downward water flow. Use gasketed screws every 12-18 inches, driving them into solid wood for a strong hold. A properly installed gable trim is a primary defense against high winds.
Mastering Valley Flashing Installation
Valleys are the most critical area on any roof because they channel immense amounts of water. Correct installation here is non-negotiable for preventing leaks. Valley flashing must be installed before the surrounding roof panels.
Most professionals use "W-style" valley flashing. The raised central "W" is an anti-siphoning channel that stops water from crossing from one side to the other during heavy rain.
Follow this procedure for a leak-proof valley:
- Underlayment First: Install your self-adhering, high-temp underlayment smoothly down the entire length of the valley.
- Position the Flashing: Center the metal valley flashing in the valley. Secure it with flashing clips or by fastening only at the outer edges, far from the center. Never place a screw in the center of the valley pan.
- Seal and Cut Panels: Apply a line of butyl tape or a quality sealant along the outside edges of the valley flashing. When you lay the roof panels, they will compress this sealant. Cut the panels at the correct angle to meet the valley, but leave a 2-inch gap from the center "W" rib. This gap allows water and debris to flow unobstructed.
Crucial Insight: Roof panels are never fastened through the valley flashing. Secure the panels to the roof deck just outside the flashing. The compression of the panel onto the sealant tape creates the watertight barrier and allows for thermal expansion and contraction.
Installing the Ridge Cap
The ridge cap is the final component, sealing the peak of the roof where the two slopes meet. This area is highly vulnerable to leaks and wind if not installed correctly.
Before placing the metal ridge cap, install a vented closure strip. This foam or plastic material is profiled to match your panels. It serves two functions: it blocks wind-driven rain and pests, and it allows hot air to escape the attic, improving energy efficiency.
With closure strips in place, lay the ridge cap over them, centered on the peak. Begin installation at the end opposite the prevailing winds. Overlap each new piece over the last. Secure the ridge cap with long gasketed screws driven through the cap, into the major ribs of the panels, and deep into the roof structure below for maximum wind uplift resistance.
Common Installation Mistakes You Must Avoid
Perfect prep work can be undone by simple installation errors. Learn from these common mistakes to ensure your project succeeds. These are not complex issues but small blunders that lead to major problems like leaks, rust, and a poor aesthetic.
Getting these details right is the difference between an adequate DIY job and a professional-grade installation.
The Rookie Mistake of Over-Tightening Screws
A frequent and destructive error is over-tightening gasketed screws. While born from a desire to ensure a tight seal, using too much force with an impact driver will destroy the gasket.
When you over-drive a screw, the rubber washer bulges out from under the head. This breaks the seal immediately and causes the rubber to degrade rapidly in the sun, guaranteeing a future leak. The goal is snug compression. Set your screw gun's clutch to stop the moment the washer is flat and firm against the panel.
Choosing the Wrong Sealant
Using the wrong sealant can cause irreversible damage. Avoid generic silicone caulk from big-box stores. Most standard silicones release acetic acid as they cure, which is highly corrosive to the coatings on metal panels. Using an acid-curing silicone will eat away at your roof's finish, leading to rust.
Crucial Tip: Only use a 100% neutral-cure silicone or a high-grade polyurethane sealant specifically formulated for metal roofing. These products adhere to metal and remain flexible without causing corrosion, ensuring your seals last.
Forgetting to Clean Up Metal Shavings
After cutting panels and driving screws, your roof will be covered in tiny metal filings called swarf. Leaving it behind is a critical error. The moment these raw steel particles are exposed to moisture, they will rust.
This rust then stains your new panels with ugly orange streaks that are nearly impossible to remove. To prevent this, use a soft brush or leaf blower to clear all swarf from the roof surface after every work session. You can see examples of pristine, finished projects that demonstrate the importance of this final cleanup.
Walking on Panels the Wrong Way
You will need to walk on your newly installed panels. Doing it incorrectly can leave permanent dents. Metal panels derive their strength from the underlying supports.
Never step in the flat "pan" of a panel between supports. Always plant your feet directly over the major ribs and as close to the screw lines as possible. This transfers your weight to the structure below. Wear soft-soled shoes to avoid scratching the paint. This simple habit preserves the roof's appearance.
Your Metal Roofing Questions Answered
Even with a detailed guide, specific questions will arise on any project. Answering them correctly is key to a professional, long-lasting installation. Here are actionable answers to common questions.
Can You Install Over Shingles?
A common question is whether you can install new metal panels directly over old asphalt shingles. While some building codes may permit this, it is strongly advised against. A full tear-off is the professional standard.
Removing the old shingles is the only way to inspect your roof deck. This is your one chance to find and repair rot or damage before covering it for the next 50 years. You can see is vital for a pristine finish.
Installing metal over shingles can trap moisture, leading to mold and decay. To achieve a professional result, start with a clean, flat deck.
What Is the Best Tool for Cutting Panels?
To achieve a clean, factory-like edge when cutting panels, you must use the right tool. Your best options are electric metal shears or a nibbler. These tools cut the metal cleanly without generating heat that damages the panel's finish.
Critical Warning: Never use a grinder or any abrasive saw. The intense friction heat burns off the galvanized coating at the cut edge. This exposes the raw steel, guaranteeing premature rust and compromising your entire roof.
How Do You Prevent Leaks Around Screws?
Leaks around fasteners are preventable with the correct technique. Use the right gasketed roofing screws and a screw gun with an adjustable clutch.
The objective is to drive the screw until the rubber washer compresses just enough to form a perfect seal. The washer should be snug and flat against the panel, not squashed or bulging. An over-tightened screw damages the washer and can cause the leak you are trying to prevent.
While planning, consider future upgrades. Many homeowners integrate solar energy solutions for metal roofs, which pair perfectly with a new installation.
For any roof repair or replacement needs in the Miami area, trust the experts at Exact Roofing. Visit our website at https://www.exactcontractors.com to get a professional consultation for your home.